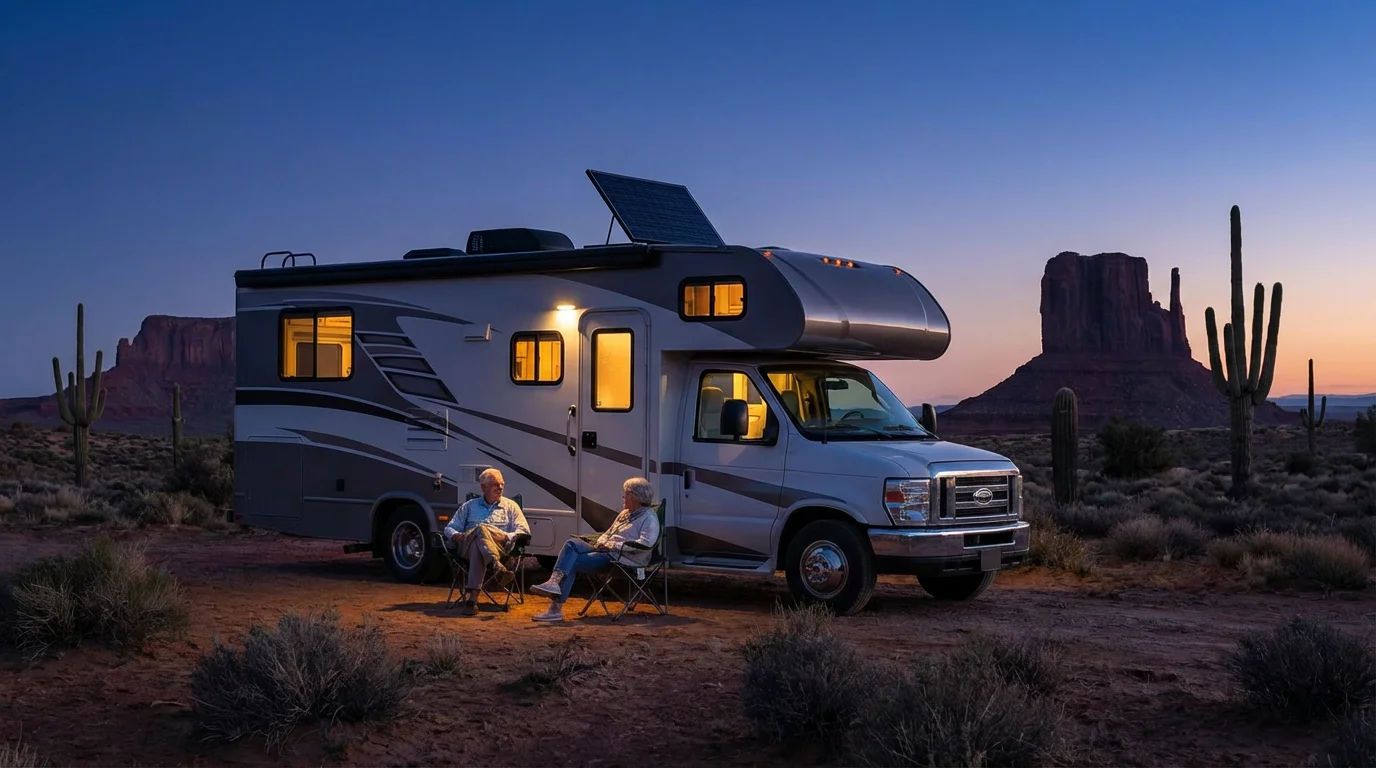
Embarking on RV adventures offers unparalleled freedom and discovery. You experience the open road, stunning national parks, and quiet campgrounds on your terms. An essential part of this journey involves understanding your RV’s electrical system, a topic many find daunting. Fear not, mastering the basics empowers you to travel with confidence, troubleshoot minor issues, and truly enjoy your mobile home.
Finding the perfect setup begins with choosing the right RV for your senior lifestyle to ensure it meets your specific electrical and comfort requirements.
This guide demystifies RV electricity. We break down complex concepts into manageable, actionable insights. You will learn about the different power sources, how they work together, and how to maintain them safely. Prepare to take control of your RV’s power and elevate your senior RVing experiences.
Table of Contents
- The Basics of RV Electrical: Your Power Foundation
- Shore Power: Plugging into Convenience
- RV Batteries: Your Mobile Powerhouse
- Converters and Inverters: Bridging the Power Gap
- Generators: Power for Off-Grid Adventures
- Solar Power: Harnessing the Sun’s Energy
- Understanding Your RV’s Electrical Panel and Fuses
- Troubleshooting Common Electrical Issues on the Road
- Essential RV Electrical Gear and Safety Practices
- Your RV Electrical Journey: Empowered Exploration
- Frequently Asked Questions
The Basics of RV Electrical: Your Power Foundation
Your RV operates on two main types of electricity: AC (Alternating Current) and DC (Direct Current). Understanding these two systems forms the bedrock of managing your RV power. AC power comes from shore power pedestals at campgrounds or from a generator. It runs your high-power appliances like air conditioners, microwaves, and standard wall outlets.
DC power, on the other hand, comes from your RV’s batteries. This system powers essential items like your lights, water pump, furnace fan, and refrigerator control board. Most smaller electronics also draw DC power, often through USB ports.
A seamless interaction between AC and DC power keeps your RV functional. Devices called converters and inverters facilitate this. The converter changes AC shore power into DC power to charge your batteries and run DC appliances. An inverter does the opposite, taking DC battery power and converting it into AC power for certain appliances when you are off-grid. This dual system gives you flexibility, allowing you to enjoy comforts whether plugged in or boondocking.
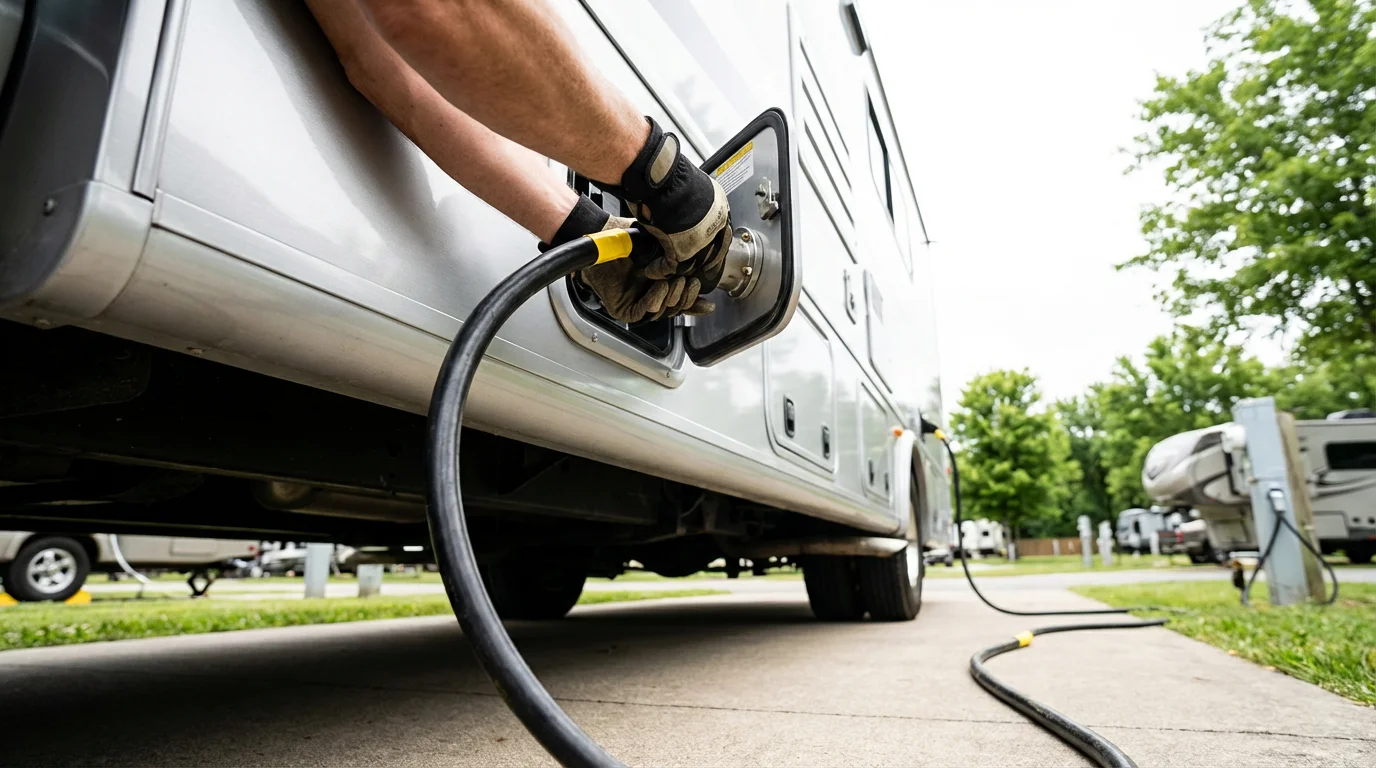
Shore Power: Plugging into Convenience
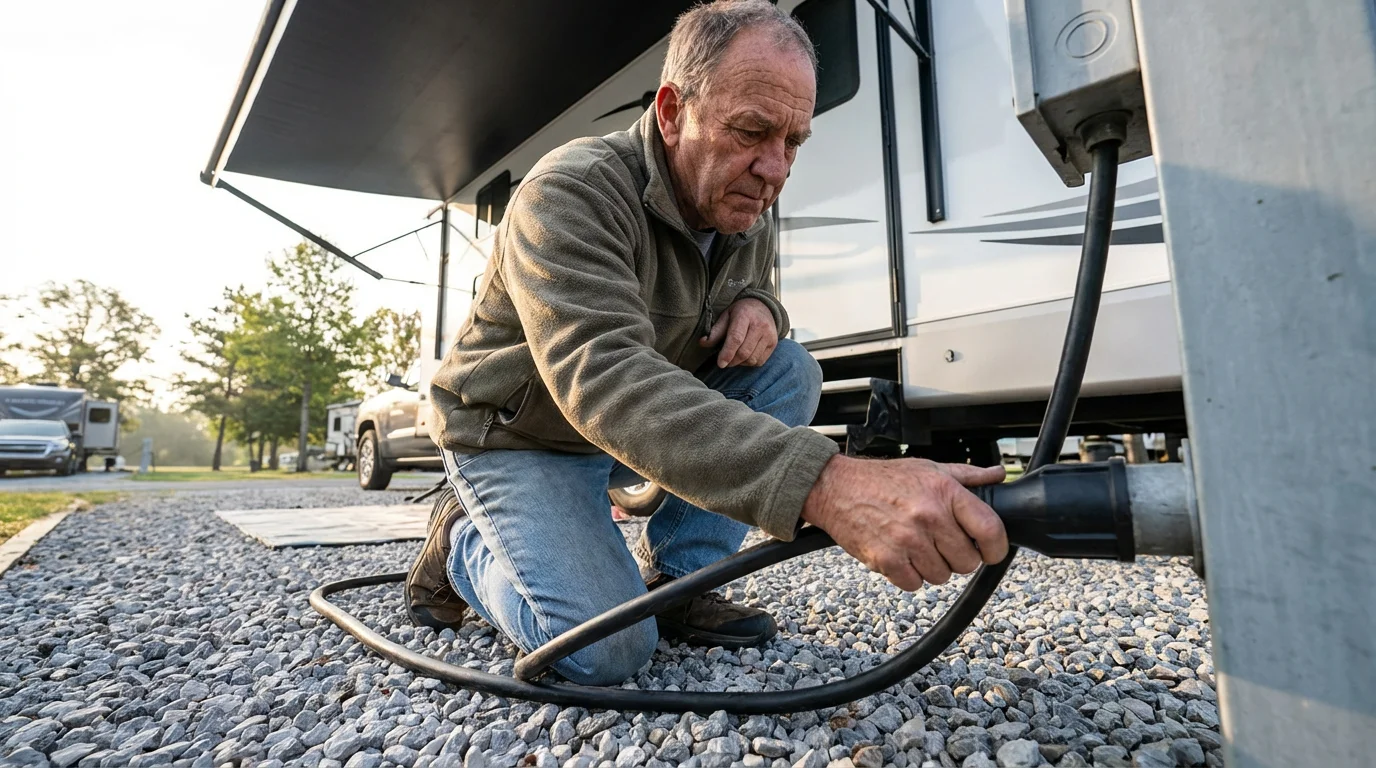
Shore power is the external electricity you connect to at campgrounds, RV parks, or even your home. This typically means plugging your RV into a power pedestal. RVs primarily use either a 30-amp or 50-amp connection. Knowing your RV’s specific requirement is crucial for safe and efficient operation.
Once you have a steady power source, you can easily look into staying connected on the road to keep in touch with family and friends.
To ensure you never forget to disconnect before driving away, include these steps in your essential RV checklist for every trip.
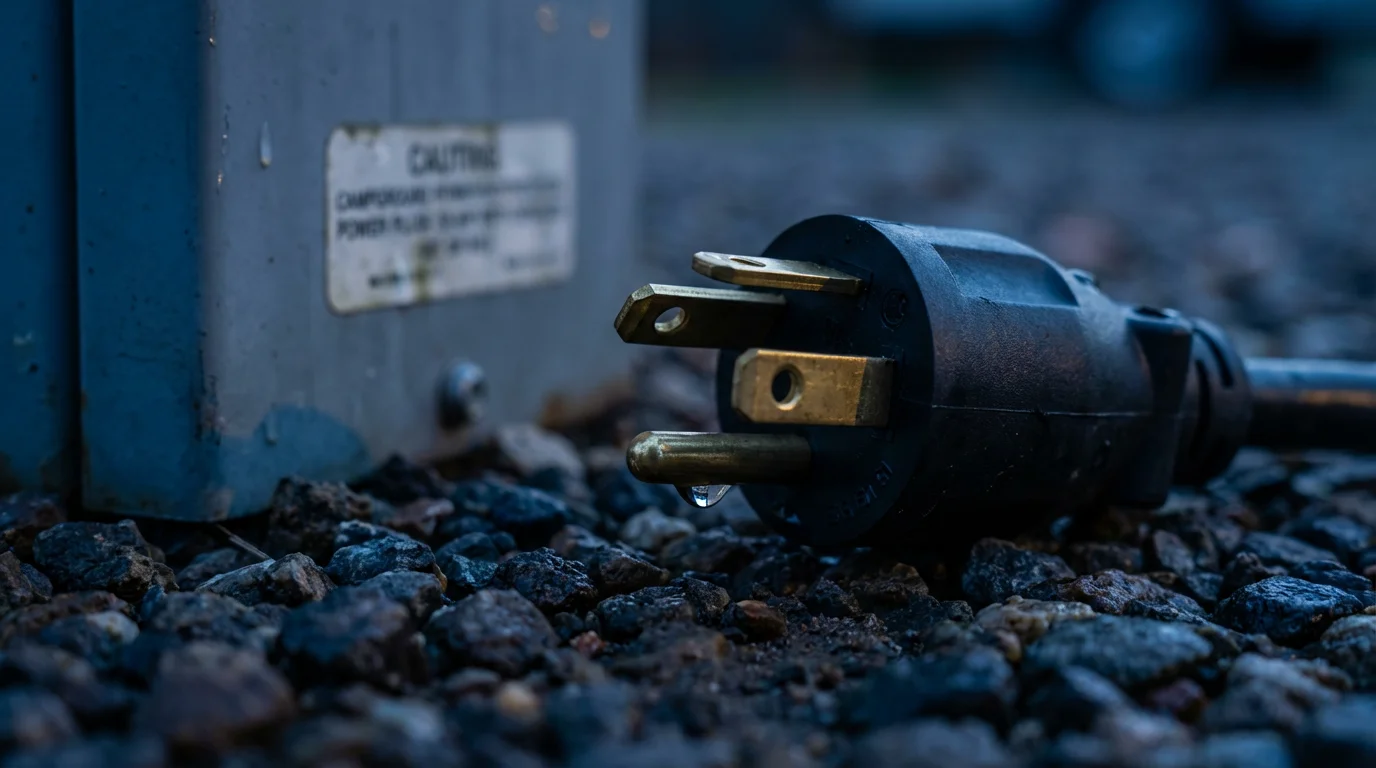
A 30-amp RV uses a three-prong plug, supplying 120 volts of AC power. This system accommodates most basic RV needs, but running multiple high-draw appliances simultaneously may trip a breaker. A 50-amp RV uses a four-prong plug, supplying two separate 120-volt lines, totaling 240 volts. This significantly increases available power, allowing you to run multiple air conditioners, a microwave, and other appliances without issue.
Always inspect the power pedestal before plugging in your RV. Look for any visible damage or corrosion. Use a surge protector to safeguard your RV’s electrical system from voltage spikes or low voltage, which can cause costly damage. This small investment provides significant peace of mind. Confirm the pedestal breaker is off before plugging in, and then switch it on.
Steps for Safe Shore Power Connection
- Verify your RV’s amperage requirement, either 30-amp or 50-amp.
- Inspect the campground power pedestal for damage or wear.
- Ensure the power pedestal’s circuit breaker is in the “off” position.
- Plug your RV’s surge protector into the pedestal outlet.
- Plug your RV’s power cord into the surge protector.
- Flip the circuit breaker on the pedestal to the “on” position.
- Check your RV’s internal power monitor or lights to confirm power flow.
- Reverse these steps when disconnecting. Turn off the breaker first.
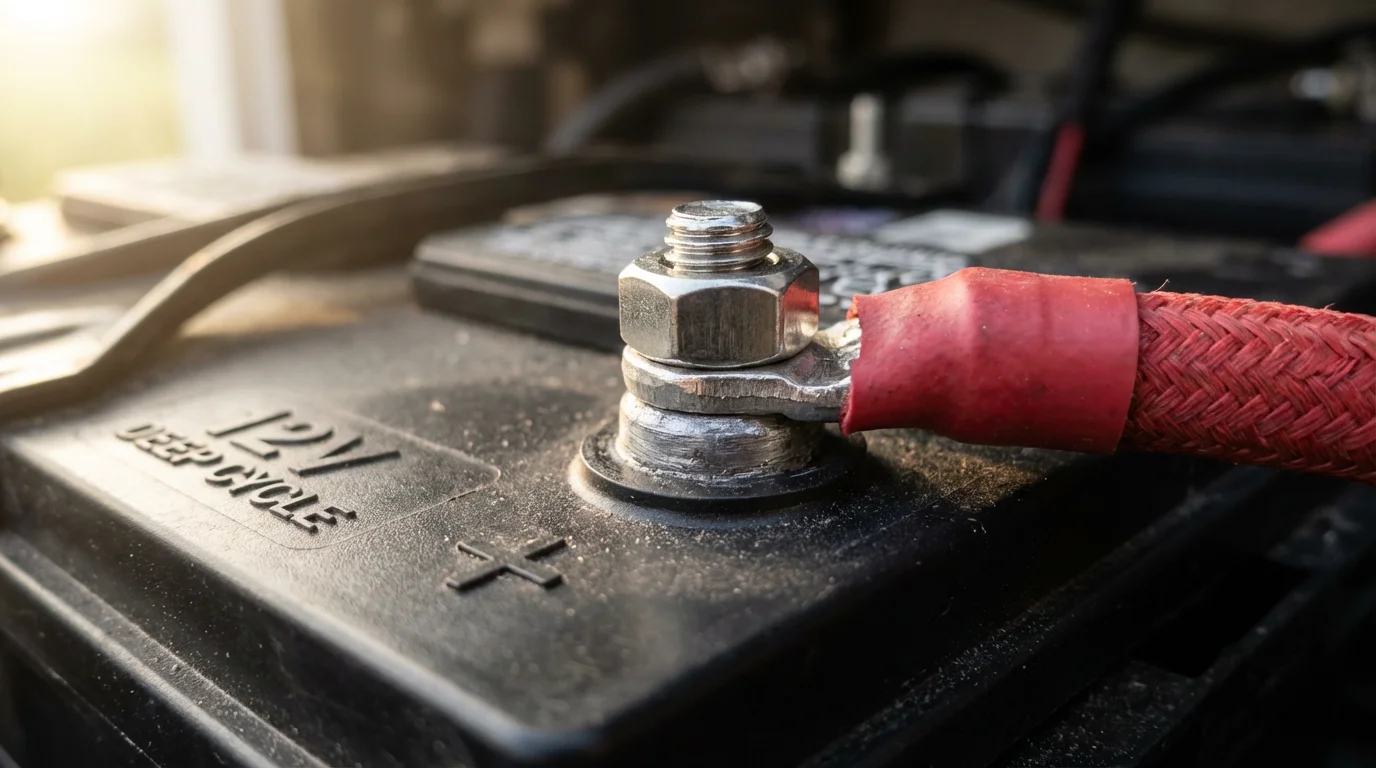
RV Batteries: Your Mobile Powerhouse
Your RV’s batteries serve as the heart of its DC electrical system, providing power when you are not connected to shore power. These batteries are distinct from your vehicle’s starting battery, which exclusively starts the engine. RV house batteries, also known as deep-cycle batteries, are designed to discharge slowly over a long period and then be recharged many times.
If you are traveling alone, monitoring your battery health is a vital component of safety and security for solo seniors.
Several types of deep-cycle batteries are available, each with pros and cons. Lead-acid batteries remain the most common and budget-friendly option. They require regular maintenance, specifically checking and refilling water levels. AGM (Absorbed Glass Mat) batteries are sealed, maintenance-free versions of lead-acid. They cost more but offer better performance in some conditions and require no water checks. Lithium iron phosphate (LiFePO4) batteries represent the premium option. They are lighter, last longer, and discharge almost completely without damage, but they carry a higher upfront cost.
Proper battery care extends their lifespan and ensures reliable power for your adventures. Always keep batteries charged to prevent damage. Discharging lead-acid batteries below 50% capacity significantly shortens their life. Consider a battery monitor to track their state of charge. When storing your RV for extended periods, disconnect the batteries or use a trickle charger to maintain their charge.
Essential RV Battery Maintenance Tips
- Regularly check the water levels in lead-acid batteries, adding distilled water as needed.
- Clean battery terminals periodically to prevent corrosion, which hinders current flow.
- Always keep your batteries charged, particularly during storage, to avoid sulfation.
- Do not over-discharge your batteries. Aim to recharge lead-acid types when they reach 50% capacity.
- Inspect battery cables for fraying or damage and replace them if necessary.
- Ensure proper ventilation around batteries, especially lead-acid, as they can off-gas hydrogen.
Converters and Inverters: Bridging the Power Gap
Converters and inverters often cause confusion for new RVers, but they perform distinct, vital functions. Think of them as translators for your RV’s electrical language. A converter changes 120-volt AC shore power into 12-volt DC power. This DC power then charges your RV’s batteries and powers all your 12-volt DC appliances, such as interior lights, the water pump, and the furnace fan. Your RV constantly uses the converter when plugged into shore power to keep your batteries topped off and supply DC power.
You can also adapt your RV with accessibility modifications that make accessing your electrical panels and switches even easier.
An inverter does the exact opposite. It takes 12-volt DC power from your batteries and converts it into 120-volt AC power. This allows you to run standard household appliances, like a coffee maker, microwave, or television, when you are not connected to shore power or a generator. Most RVs come with a small inverter to power a few key outlets or specific appliances. Larger inverters can power most or all of your RV’s AC outlets, enabling a more “at home” experience off-grid. You decide when to turn on the inverter, typically only when you need AC power away from shore connections. Understanding their roles helps you manage your power effectively, whether you are in a park or enjoying the wilderness.

Generators: Power for Off-Grid Adventures
When you seek the serenity of boondocking or dry camping, a generator becomes your best friend. It provides AC power similar to shore power, allowing you to run your RV’s air conditioning, microwave, or charge your batteries in remote locations. Generators come in two primary types: built-in and portable.
While managing generator use is great for budgeting, remember to look for senior discounts for RVers on fuel and park entry fees to further reduce costs.
Managing your fuel consumption when using a generator is a great way to maintain RV living on a budget.
Built-in generators integrate into your RV’s chassis, often running on the same fuel as your vehicle, or propane. They offer convenience with push-button starting and dedicated fuel lines. Portable generators, on the other hand, offer flexibility. You can move them away from your campsite to reduce noise, and they come in various sizes and fuel types. Inverter generators, a popular type of portable generator, produce cleaner power, making them safer for sensitive electronics like laptops and medical devices.
When using a generator, always prioritize safety and consider your surroundings. Generator noise can disturb others, so adhere to quiet hours in campgrounds. Exhaust fumes contain carbon monoxide, a colorless, odorless, and deadly gas. Position your generator outdoors in a well-ventilated area, away from windows and vents. Many public lands, including those managed by the National Park Service and Recreation.gov, have specific rules regarding generator use. Always check regulations for your chosen destination.
Generator Safety and Usage Tips
- Operate generators only outdoors in open, well-ventilated spaces.
- Point exhaust fumes away from your RV and other campsites.
- Install and regularly test carbon monoxide detectors inside your RV.
- Avoid refueling a hot generator. Let it cool down first.
- Keep flammable materials away from the generator.
- Do not run your generator overnight or while sleeping.
- Always carry enough fuel for your planned usage.
- Respect campground quiet hours when operating a generator.

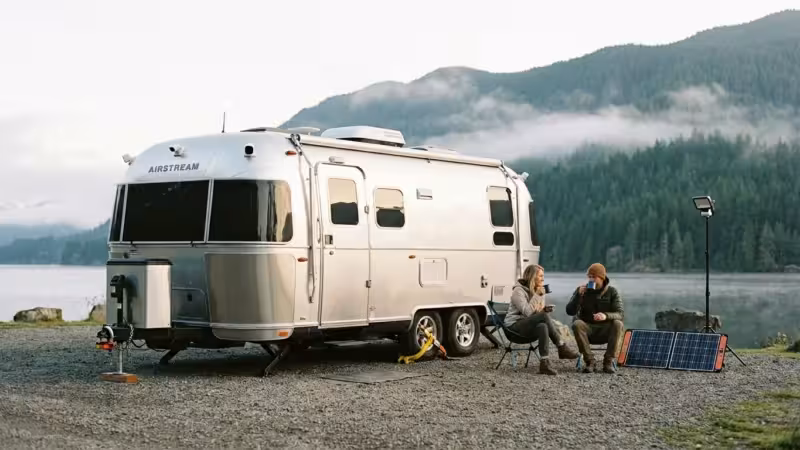
Solar Power: Harnessing the Sun’s Energy
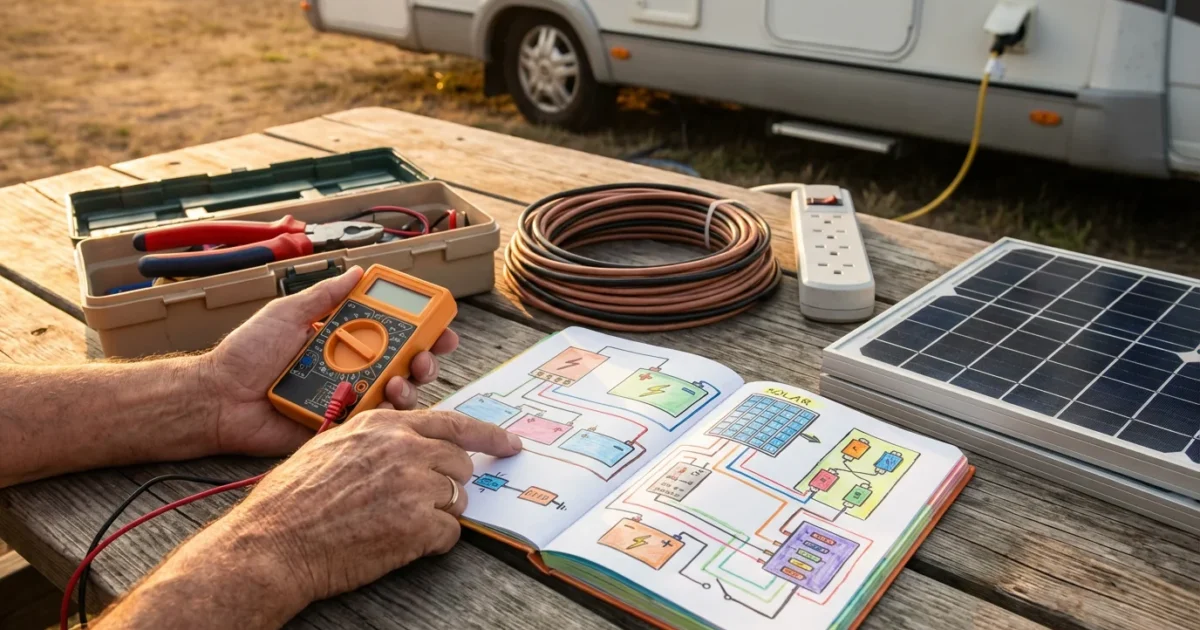
Harnessing the sun’s energy provides an eco-friendly and quiet alternative to generators for off-grid power. Solar power systems allow you to extend your boondocking stays indefinitely, as long as you have adequate sunshine. A basic RV solar setup includes solar panels, a charge controller, a battery bank, and often an inverter. The panels capture sunlight, converting it into electrical energy. The charge controller regulates this energy, ensuring your batteries charge safely and efficiently.
Utilizing solar energy is just one of many ways to focus on camping comfortably during your travels.
Solar panels mount on your RV’s roof, or you can use portable ground arrays. Roof-mounted systems offer convenience and require less setup each time you park. Portable panels provide flexibility, allowing you to position them in direct sunlight even if your RV is parked in the shade. The energy collected then stores in your RV’s battery bank. An inverter converts the battery’s DC power into AC power for your household appliances.
Investing in a solar system can range from a simple, small setup to a comprehensive array. Start with understanding your power consumption needs. Calculate the wattage of your daily appliance use to determine the right size panels and battery bank. While the initial investment can be higher, solar offers long-term savings on fuel and campsite fees. It also provides the quietest form of power, allowing you to truly immerse yourself in nature.
Key Components of an RV Solar Setup
- Solar Panels: Convert sunlight into electricity.
- Charge Controller: Regulates voltage from panels to batteries, preventing overcharging.
- Deep-Cycle Batteries: Store the solar energy for later use. Lithium batteries are popular for solar due to efficiency.
- Inverter: Converts DC battery power to AC power for household outlets and appliances.
- Mounting Hardware: Secures panels to the RV roof or provides ground stands for portable setups.
- Wiring and Fuses: Connects all components safely within the system.
Understanding Your RV’s Electrical Panel and Fuses
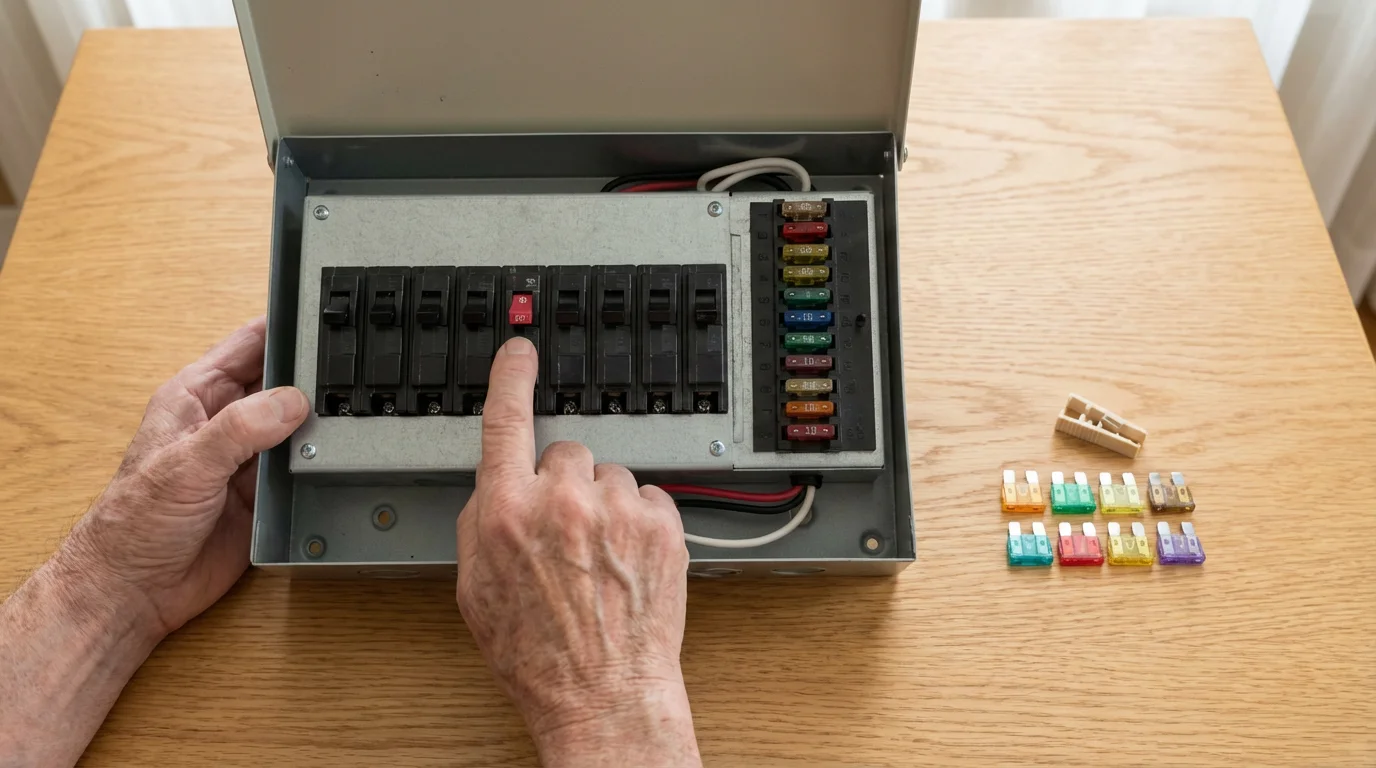
Your RV’s electrical panel serves as its central nervous system, distributing power and protecting circuits. It typically contains two main sections: AC circuit breakers and DC fuses. The AC circuit breakers look similar to those in your home. They protect your 120-volt AC appliances and outlets from overloads or short circuits. If your microwave or air conditioner suddenly stops working, check the corresponding breaker on this panel first.
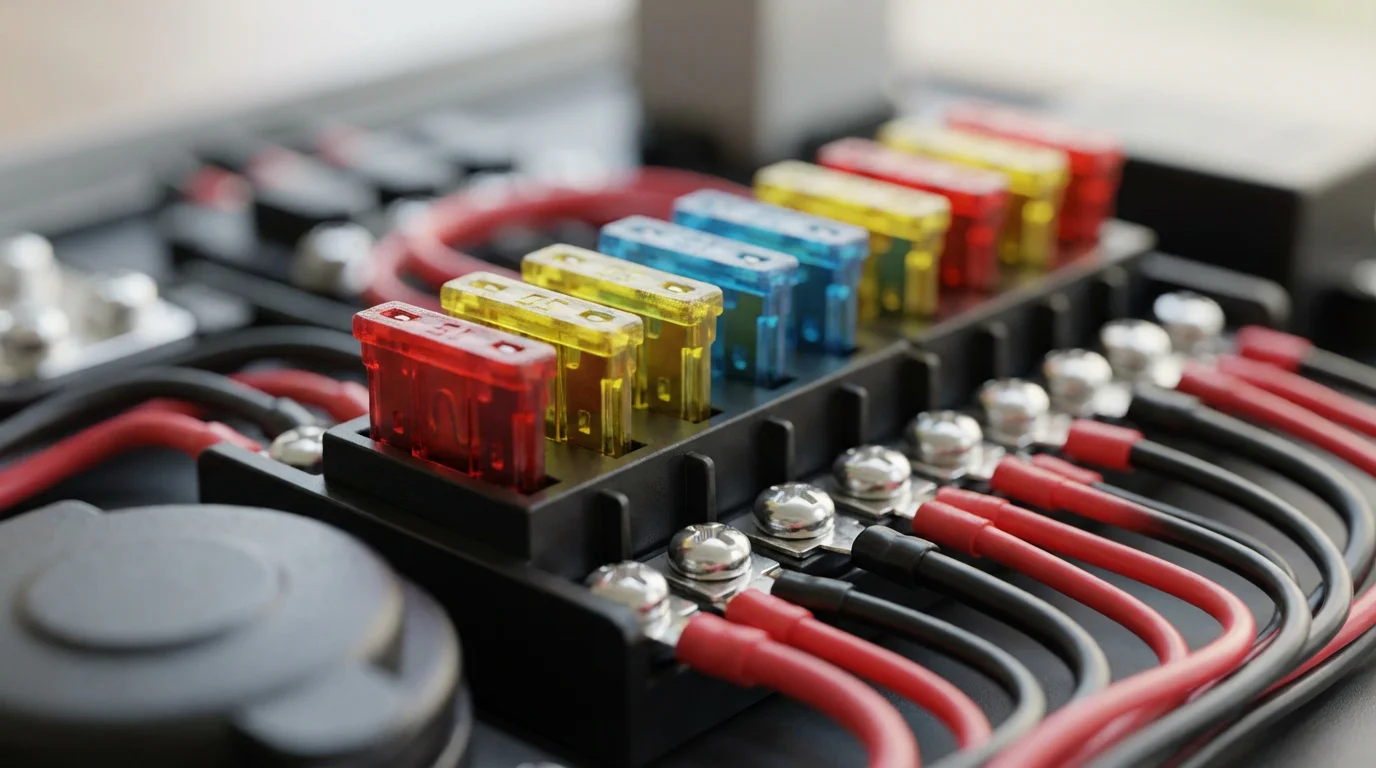
The DC fuse panel protects your 12-volt DC components. These small, often color-coded fuses safeguard your lights, water pump, stereo, and other low-voltage systems. Each fuse protects a specific circuit. If a 12-volt device stops working, locate its corresponding fuse. A blown fuse often shows a break in the wire inside the fuse. Your RV manual provides a diagram, labeling which fuse protects which component. Carry a supply of spare fuses of various amperages, along with a fuse puller and a fuse tester, for easy roadside replacements.
Knowing the location of your electrical panel is essential for basic troubleshooting. Most RVs place them in an easily accessible spot, often inside a cabinet or near the bed. Familiarize yourself with the layout and labels. Understanding these panels empowers you to quickly diagnose and fix common electrical hiccups, keeping your adventures on track. Always turn off the power source, whether shore power or battery disconnect, before working with fuses or breakers.
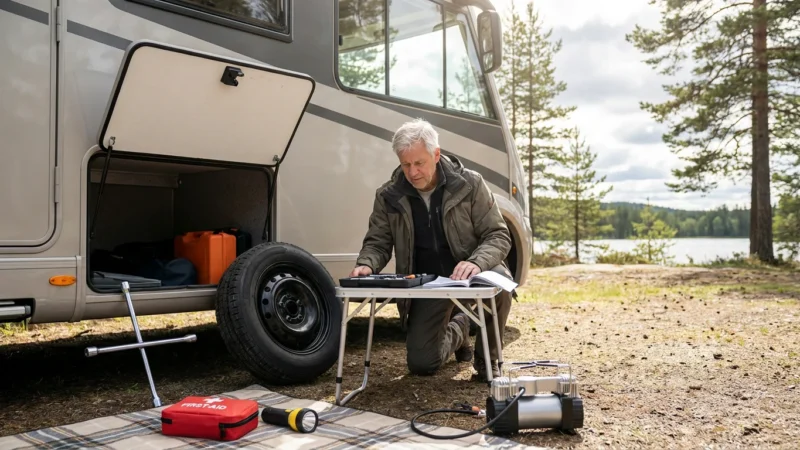
Troubleshooting Common Electrical Issues on the Road
Even with careful preparation, electrical issues can arise. Knowing a few basic troubleshooting steps saves you time, frustration, and potentially a costly service call. The most common problem involves a loss of power to certain appliances or the entire RV. Start by determining if the issue affects AC power, DC power, or both. This helps narrow down the problem area.
If you experience no AC power while plugged into shore power, first check the pedestal breaker at the campground. It may have tripped. Also, check your RV’s main circuit breaker. A faulty surge protector can also interrupt power flow. If you have no DC power, your batteries might be dead or a main battery disconnect switch is off. A blown main fuse from the battery could also be the culprit.
Flickering lights or intermittent power to a single appliance often point to a loose connection or a specific circuit issue. For 12-volt problems, check the individual fuses in your DC fuse panel. For 120-volt issues, check the breakers in your AC panel. Always approach troubleshooting methodically. Start with the simplest checks and work your way through the system. Your RV manual offers specific diagrams and guidance unique to your model.
“The world is a book and those who do not travel read only one page.” — Saint Augustine
Step-by-Step Electrical Troubleshooting Guide
- Identify the Scope: Is it an AC issue, a DC issue, or both? Is it one appliance or multiple?
- Check Power Source: If on shore power, verify the pedestal breaker is on. If boondocking, check generator fuel/operation or battery charge.
- Inspect Cords/Connections: Ensure all power cords, adapters, and battery terminals are securely connected and undamaged.
- Check RV Breakers: Locate your RV’s main AC breaker panel and reset any tripped breakers.
- Check RV Fuses: Locate your RV’s DC fuse panel. Use a fuse tester to check for blown fuses and replace them with new fuses of the correct amperage.
- Verify Battery Status: Check your RV battery’s charge level. Ensure the battery disconnect switch is in the “on” position.
- Test GFCI Outlets: Reset any GFCI (Ground Fault Circuit Interrupter) outlets, usually found in kitchens or bathrooms.
- Consult Your Manual: Refer to your RV’s owner’s manual for specific wiring diagrams and troubleshooting tips.
Essential RV Electrical Gear and Safety Practices
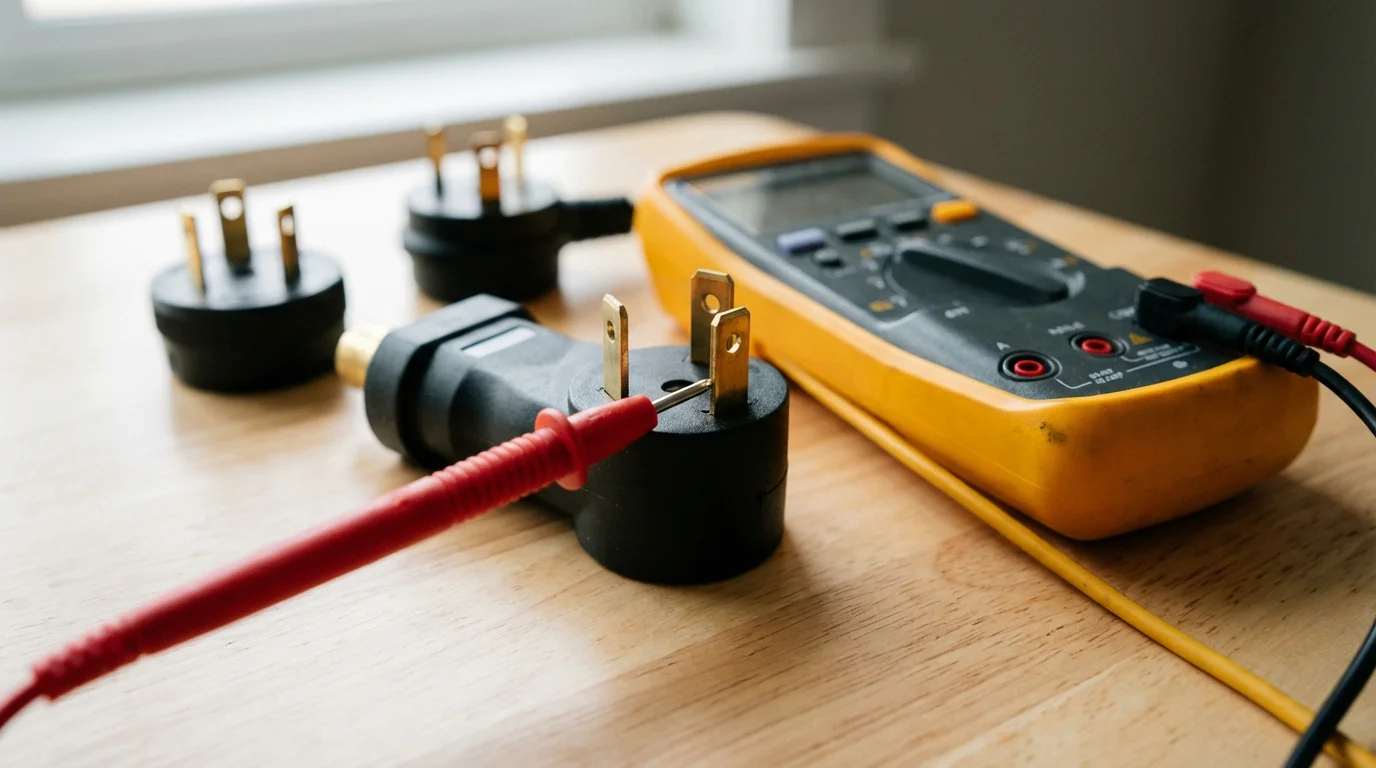
Preparedness forms a key component of successful RV travel. Carrying essential electrical gear helps you manage your system efficiently and safely. A multimeter or voltmeter allows you to check voltage and continuity, invaluable for troubleshooting. A high-quality surge protector, as mentioned, is non-negotiable for protecting your RV from power fluctuations. Additionally, keep a variety of electrical adapters on hand. These let you connect your RV to different amperage shore power pedestals, such as a 50-amp RV to a 30-amp pedestal using an adapter, or a 30-amp RV to a standard 15-amp household outlet for light charging.
Safety always comes first when dealing with electricity. Always ensure your hands are dry before handling electrical connections. Never attempt to bypass safety devices like circuit breakers or fuses. Overloading circuits can lead to serious hazards, including electrical fires. Understand your RV’s power limits. Do not plug too many high-draw appliances into one circuit. Regularly inspect your power cords for fraying or damage. Replace them immediately if you notice any wear. For broader safety advice relevant to all your travels, the AARP Travel resources offer valuable insights.
Must-Have RV Electrical Gear
- Surge Protector: Protects against power spikes and low voltage.
- Electrical Adapters: 30-to-50 amp, 50-to-30 amp, 30-to-15 amp “dogbone” adapters.
- Multimeter/Voltmeter: For checking voltage and diagnosing issues.
- Spare Fuses: A variety of 12-volt DC fuses for your RV’s fuse panel.
- Fuse Puller/Tester: Makes replacing fuses easier and safer.
- Heavy-Duty Extension Cord: For shore power connections, if needed, ensure it is rated for outdoor RV use.
- Electrical Tape: For temporary repairs or securing connections.
- Rubber Gloves: Provides an extra layer of protection when handling electrical components.
Key RV Electrical Safety Practices
- Always turn off the power source before connecting or disconnecting.
- Never touch electrical components with wet hands or while standing in water.
- Install and regularly test GFCI outlets and smoke/CO detectors.
- Avoid overloading circuits by running too many high-draw appliances at once.
- Regularly inspect power cords and connections for damage.
- Do not run extension cords under rugs or through doorways where they can be pinched.
- Ensure proper grounding of your RV’s electrical system.
- Seek professional help for complex electrical repairs you do not understand.
Your RV Electrical Journey: Empowered Exploration
Understanding your RV’s electrical system transforms a potential source of anxiety into an empowering tool for adventure. You now grasp the difference between AC and DC power, the role of batteries, and the convenience of shore power. You also know how to extend your travels with generators and solar power, plus how to troubleshoot common issues. This knowledge allows you to confidently explore remote landscapes or simply enjoy reliable power at your favorite campground.
Embrace the spirit of lifelong learning and discovery. Each RV trip presents an opportunity to refine your skills and expand your understanding. Take control of your RV’s power, allowing it to fuel countless unforgettable experiences. The open road calls, and with a solid grasp of your RV’s electrical heart, you are ready to answer with confidence and enthusiasm.
Frequently Asked Questions
What is the difference between 30-amp and 50-amp RV service?
A 30-amp RV service provides 120 volts of alternating current (AC) power, suitable for running one high-draw appliance, like an air conditioner, at a time. A 50-amp service delivers two 120-volt lines, totaling 240 volts, allowing you to run multiple high-draw appliances simultaneously without tripping breakers. Your RV’s specific electrical system dictates which service you need.
Do I need a surge protector for my RV?
Yes, you absolutely need an RV surge protector. It safeguards your RV’s sensitive electrical components from damaging power surges, voltage spikes, and low voltage conditions common at campgrounds. This small investment protects expensive appliances and systems from costly repairs or replacement.
How often should I check my RV batteries?
If you have lead-acid batteries, check their water levels monthly, or more frequently in hot weather. Keep the fluid levels topped off with distilled water. For AGM or lithium batteries, perform visual inspections monthly to check for corrosion or loose connections. Always ensure your batteries remain charged to prolong their lifespan, regardless of type.
Can I run my RV air conditioner on battery power?
Directly running a standard RV air conditioner directly on battery power is generally not feasible for an extended period. Air conditioners require 120-volt AC power and draw significant amperage. You would need a very large battery bank and a powerful inverter to sustain an AC unit for more than an hour or two. Most RVers use shore power or a generator to run their air conditioning.
What should I do if my RV has no power at all?
First, identify if you have power problems with both AC and DC systems. If on shore power, check the campground pedestal breaker and your RV’s main breaker. If boondocking, ensure your generator has fuel and is operating, or check your battery charge level. Confirm your battery disconnect switch is in the “on” position. Also, check the main fuses coming directly from your battery bank. If simple checks do not resolve the issue, consult your RV manual or seek professional assistance.
Disclaimer: This article is for informational purposes only. Travel conditions, accessibility, and requirements change frequently. We encourage readers to verify current information with official sources before traveling. Always consult with healthcare providers about travel considerations for your specific health situation.


Leave a Reply