
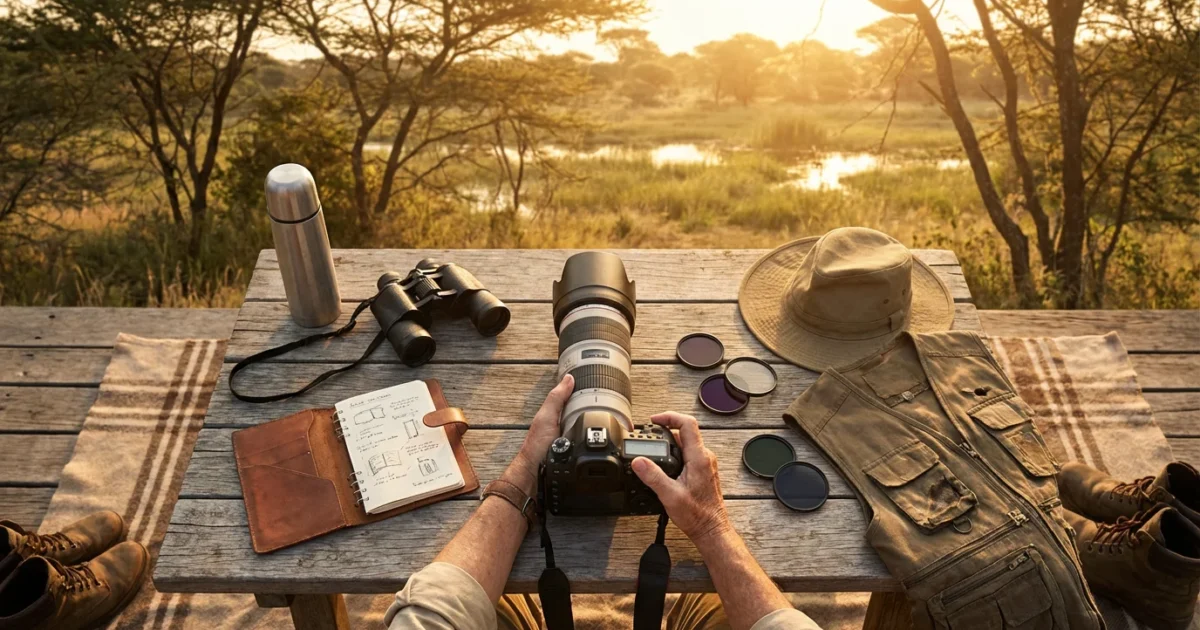
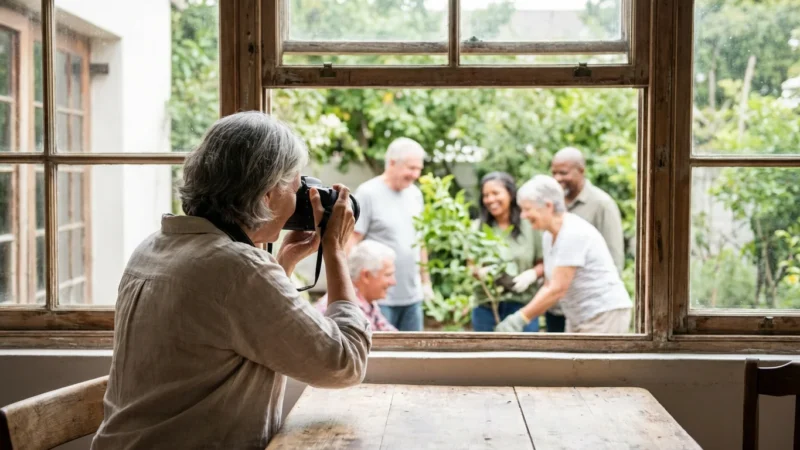
The call of the wild echoes uniquely at every age, inviting you to witness nature’s grandeur up close. For active Americans aged 55 and beyond, wildlife photography offers a deeply rewarding way to connect with the natural world, sharpen your observational skills, and create lasting memories. You do not need to be a seasoned expert or possess specialized physical abilities to capture breathtaking images of animals in their natural habitats. This guide empowers you to embark on thrilling photography travel adventures, providing practical advice and inspiring insights to master senior photography.
Embracing this hobby is a fantastic way of learning a new skill in retirement, keeping your mind active while exploring the outdoors.
Imagine freezing a hummingbird mid-flight or capturing the majestic gaze of an elk in the wilderness. These experiences are well within your reach. We will explore everything from essential gear to advanced techniques and responsible travel practices, ensuring your journey into wildlife photography is both safe and immensely satisfying.
Table of Contents
- Unleashing Your Inner Photographer: Why Wildlife Photography?
- Choosing Your Essential Photography Gear
- Mastering the Art of Wildlife Photography
- Planning Your Wildlife Photography Trip
- Top Destinations for Senior Wildlife Photographers
- Safety and Comfort in the Field
- Post-Capture: Editing and Sharing Your Photos
- Frequently Asked Questions
Unleashing Your Inner Photographer: Why Wildlife Photography?
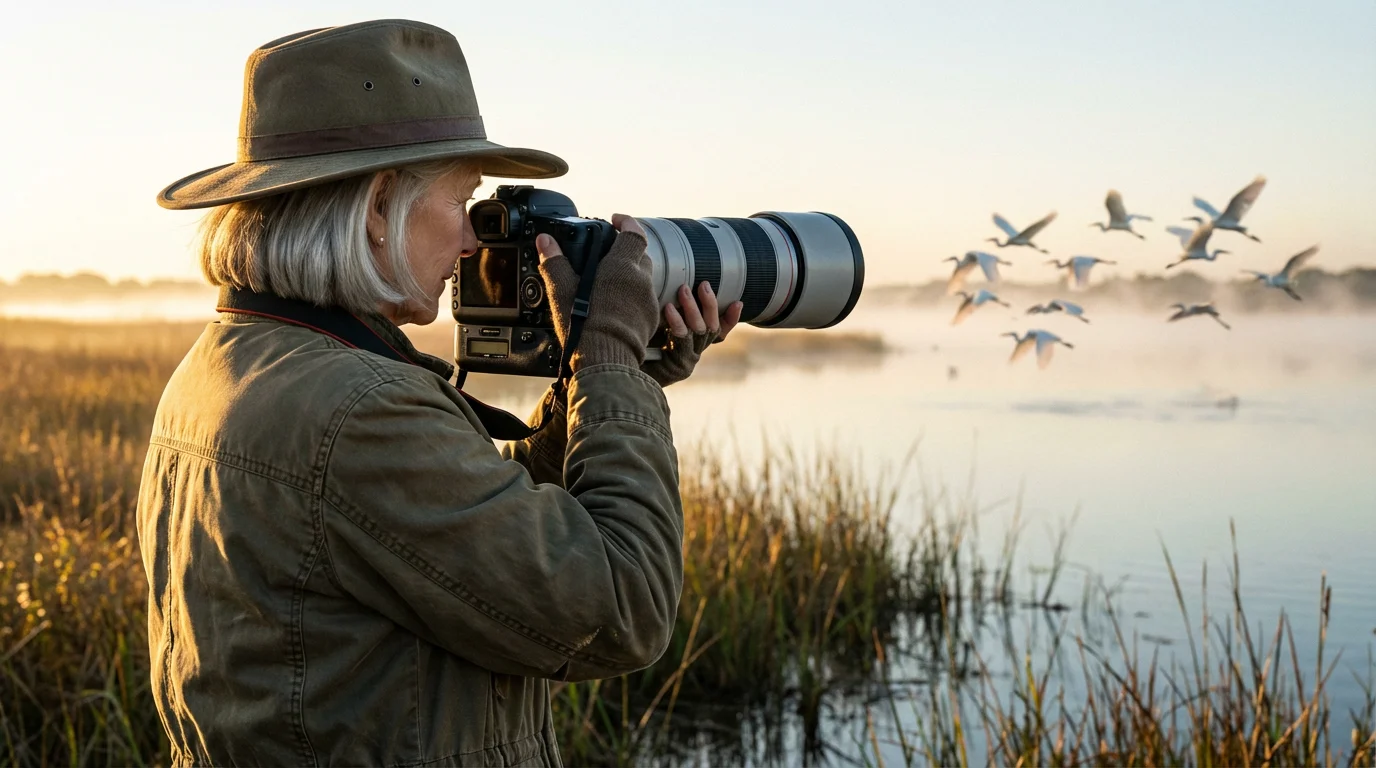
Wildlife photography provides an incredible blend of outdoor exploration, artistic expression, and mental engagement. It encourages patience, observation, and a deeper appreciation for biodiversity. Many seniors find it an ideal pursuit, offering flexible activity levels and constant learning opportunities.
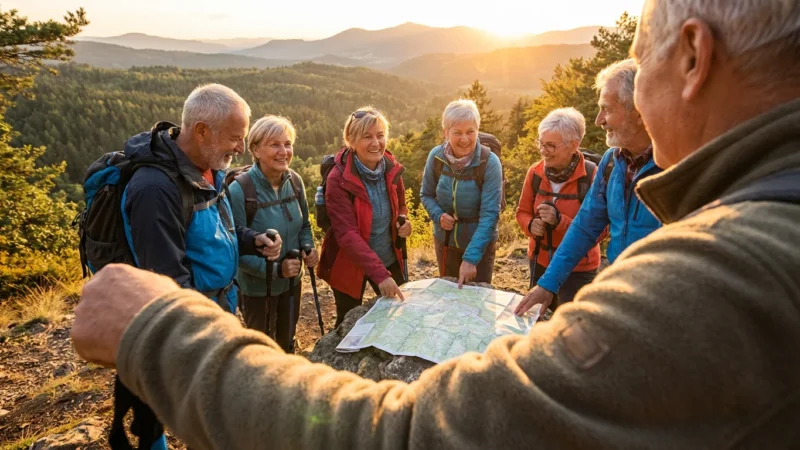
To connect with others who share your passion, you might also consider looking into adventure clubs for older adults that offer group photography outings.
Many of the best photo opportunities are found in protected public lands, making a trip to some of the best national parks for seniors an ideal way to start your photography journey.
If you’re particularly drawn to feathered subjects, combining photography with senior birdwatching adventures can make your outings even more rewarding.
You might believe specialized skills or expensive equipment are barriers. However, enthusiasm and a willingness to learn are your most important assets. Modern cameras offer user-friendly features, and many techniques are easily grasped with a little practice. You will discover the joy of capturing a fleeting moment, a true testament to nature’s beauty.
“The world is a book and those who do not travel read only one page.” — Saint Augustine
Choosing Your Essential Photography Gear
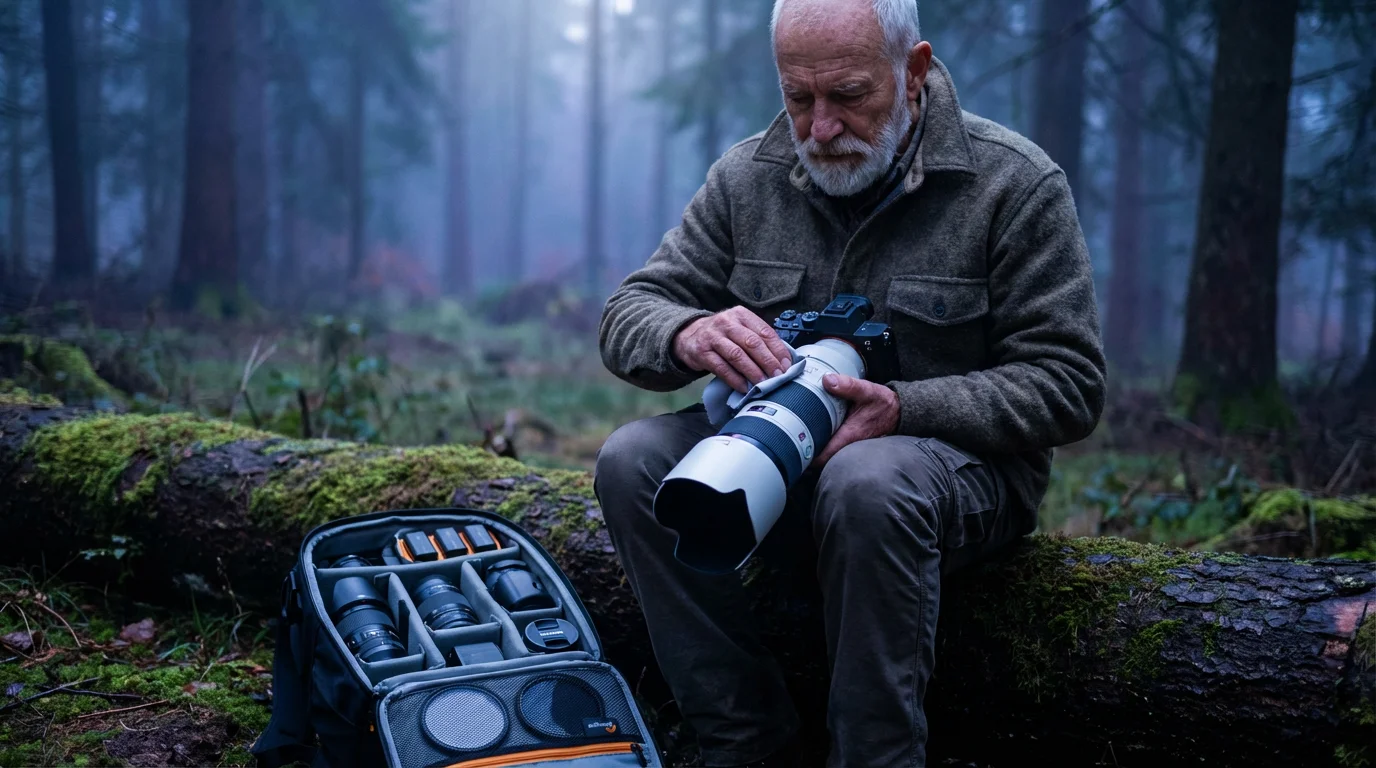
Understanding what photography gear do you need forms the foundation of successful wildlife photography. You can start with basic equipment and gradually upgrade as your skills and interests evolve. Prioritize comfort, portability, and ease of use.
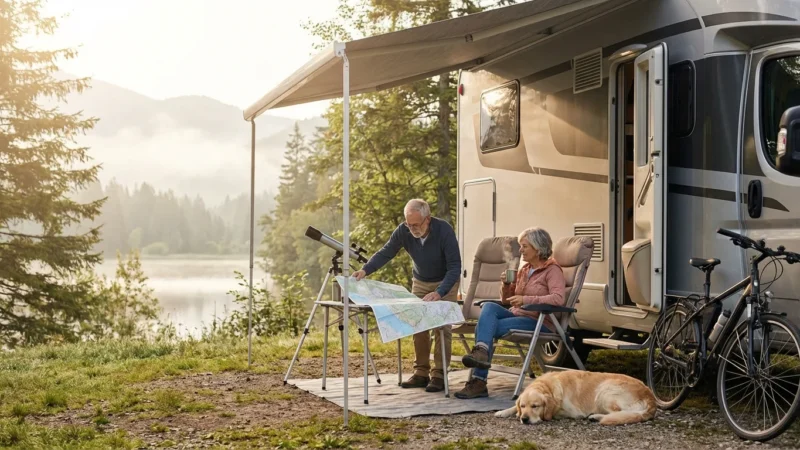
For those traveling with extensive camera setups, planning senior-friendly RV adventures can provide a secure and comfortable mobile base to store your gear.
Cameras: The Heart of Your Setup
- Mirrorless Cameras: These are lightweight and compact, often providing excellent image quality. They feature advanced autofocus systems and electronic viewfinders, making them very user-friendly. Many models offer in-body image stabilization, crucial for sharper telephoto shots.
- DSLR Cameras: Digital Single-Lens Reflex cameras offer robust performance and a wide range of compatible lenses. They tend to be heavier than mirrorless cameras. DSLRs remain a popular choice for their optical viewfinders and long battery life.
- Bridge Cameras: These cameras combine elements of DSLRs and point-and-shoots, often featuring a powerful, fixed zoom lens. They are excellent for beginners who want significant zoom capabilities without the complexity of interchangeable lenses. You cannot change lenses on these cameras, limiting future flexibility.
Lenses: Reaching Distant Subjects
For wildlife, a telephoto lens is indispensable. It allows you to fill the frame with distant subjects without disturbing them. You should look for lenses with focal lengths ranging from 200mm to 600mm or beyond.
- Telephoto Zoom Lenses: These offer versatility, allowing you to adjust your focal length to frame subjects at varying distances. A 100-400mm or 150-600mm lens is an excellent starting point for wildlife.
- Prime Telephoto Lenses: These fixed-focal-length lenses offer superior image quality and often faster apertures. They are typically more expensive and heavier, best suited for experienced photographers with specific needs.
Stabilization: Tripods and Monopods
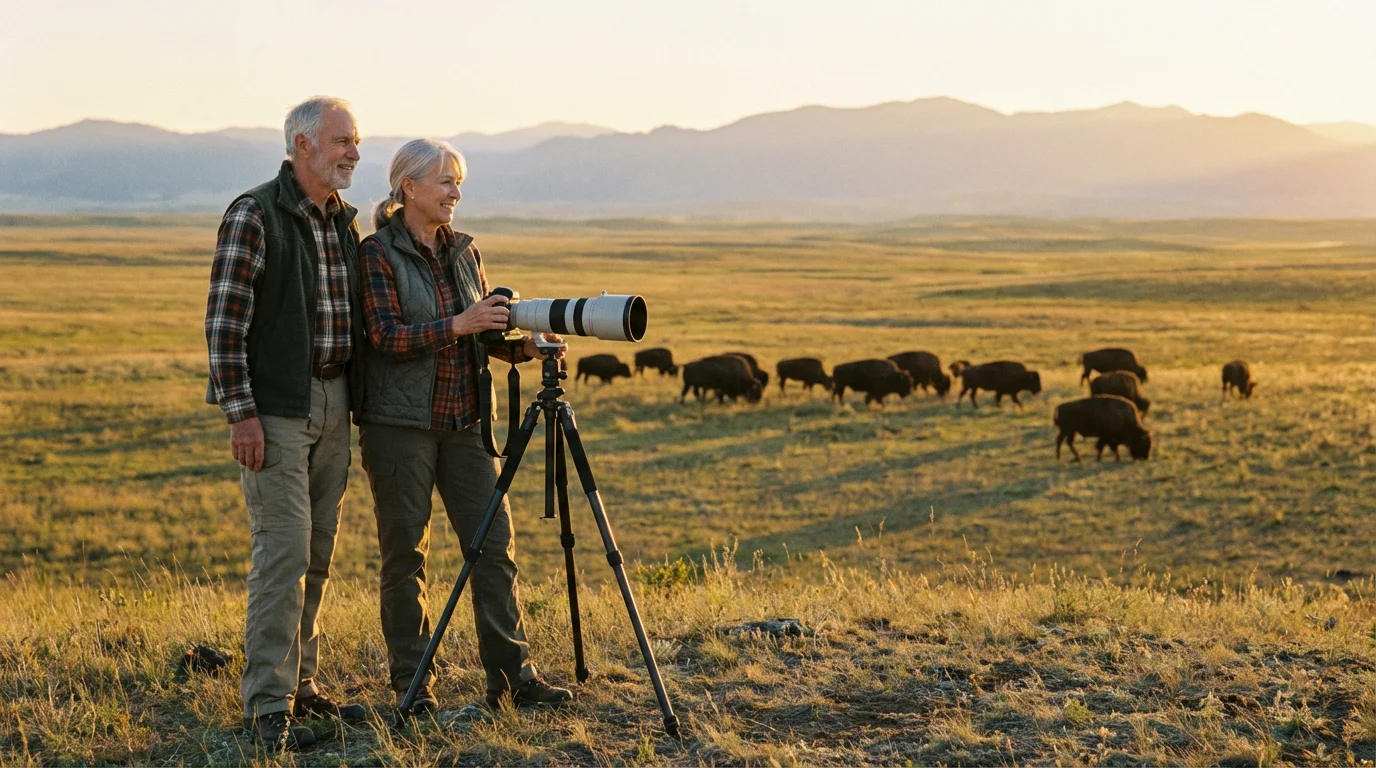
Long lenses amplify camera shake, making a stable support crucial for sharp images. This is especially important for senior photography, where reducing strain is beneficial.
- Tripod: A sturdy tripod provides maximum stability for long exposures and heavy lenses. Look for models made of carbon fiber for lighter weight. Ensure it has a reliable head, such as a gimbal head, for smooth tracking of moving animals.
- Monopod: A monopod offers more flexibility and portability than a tripod. It provides vertical support, reducing arm fatigue and camera shake. This is a great compromise for active individuals covering varied terrain.
Essential Accessories
- Extra Batteries: Cold weather and continuous shooting drain batteries quickly. Always carry at least two fully charged spares.
- High-Capacity Memory Cards: Wildlife photography generates many large files. Invest in fast, reliable SD or CFexpress cards with ample storage.
- Camera Bag: Choose a comfortable backpack or sling bag that protects your gear and allows easy access. Ensure it fits your body comfortably, especially if you plan extended walks.
- Lens Cleaning Kit: Dust and smudges will inevitably appear. A blower, lens pen, and microfiber cloth are vital for keeping your lenses spotless.
- Rain Cover: Protect your valuable equipment from unexpected downpours.
Gear Comparison: Camera Types
| Feature | Mirrorless Camera | DSLR Camera | Bridge Camera |
|---|---|---|---|
| Weight & Size | Lightweight, compact | Heavier, bulkier | Moderate, all-in-one |
| Image Quality | Excellent (APS-C/Full-Frame) | Excellent (APS-C/Full-Frame) | Good (Smaller Sensor) |
| Lens Options | Extensive, growing | Very extensive, mature | Fixed lens only |
| Autofocus | Often superior, silent | Fast, reliable | Good for its class |
| User Experience | Modern interface, EVF | Optical viewfinder, traditional | Simpler, point-and-shoot feel |
| Best For | Travel, video, tech enthusiasts | Professionals, traditionalists | Beginners, all-in-one convenience |
Mastering the Art of Wildlife Photography
Beyond the gear, successful wildlife photography hinges on understanding light, composition, and animal behavior. These techniques elevate your snapshots into compelling images. You can apply these principles regardless of your camera type.
For those who love hiking, mastering photography on the trail allows you to capture stunning landscapes alongside local fauna.
Understanding Light
Light is your most powerful tool. The quality, direction, and intensity of light dramatically impact your photographs.
- Golden Hour: The periods shortly after sunrise and before sunset offer soft, warm, directional light. This light brings out texture and creates beautiful highlights, ideal for stunning wildlife portraits.
- Overcast Days: Cloudy days provide soft, diffused light, perfect for even lighting and vibrant colors without harsh shadows. This condition is excellent for close-up shots and forest photography.
- Backlighting: Positioning your subject between you and the sun can create dramatic silhouettes or beautiful rim lighting, adding depth and artistry to your photos.
Composition Techniques
Good composition guides the viewer’s eye and creates a visually appealing image.
- Rule of Thirds: Imagine a grid dividing your frame into nine equal sections. Place your subject or key elements along these lines or at their intersections for a more dynamic composition.
- Leading Lines: Use natural elements like paths, rivers, or branches to draw the viewer’s eye towards your subject.
- Framing: Utilize natural frames such as tree branches or foliage to enclose your subject, adding context and depth.
- Eye-Level Perspective: Getting down to eye level with your subject creates a more intimate and engaging photograph. This connects the viewer directly with the animal.
- Negative Space: Sometimes, less is more. Allowing open space around your subject can emphasize its solitude or grace.
Camera Settings: How to Take Wildlife Photos
Mastering basic camera settings helps you adapt to different situations. Understanding aperture, shutter speed, and ISO empowers you to make creative choices.
- Aperture (f-stop): Controls depth of field and light entering the lens.
- For a blurry background (bokeh) that isolates your subject, use a wide aperture (smaller f-number, e.g., f/2.8, f/4).
- For sharp subjects and backgrounds, use a narrower aperture (larger f-number, e.g., f/8, f/11).
- Shutter Speed: Controls how long the sensor is exposed to light and freezes motion.
- To freeze fast-moving animals, use a fast shutter speed (e.g., 1/1000 sec or faster).
- For artistic motion blur (e.g., bird wings), use a slower shutter speed (e.g., 1/250 sec).
- Aim for at least 1/focal length (e.g., 1/400 sec for a 400mm lens) handheld to minimize camera shake.
- ISO: Determines the camera sensor’s sensitivity to light.
- Use low ISO (100-400) in bright conditions for the cleanest images.
- Increase ISO (800-3200+) in low light. Be aware higher ISO introduces digital noise or grain.
- Focusing Modes:
- Continuous Autofocus (AI Servo/AF-C): Tracks moving subjects, keeping them in focus as they move. This is indispensable for capturing animals in action.
- Single Shot Autofocus (One-Shot/AF-S): Best for stationary subjects.
- Drive Mode:
- Continuous High: Shoots multiple frames per second, increasing your chances of capturing the perfect moment of action.
Patience and Observation
Wildlife photography is often a game of waiting. Spend time observing animal behavior before you even raise your camera. Understanding their routines, movement patterns, and feeding habits greatly increases your chances of a successful shot. Move slowly, quietly, and respect their space.
While waiting quietly for the perfect shot, always prioritize your safety by knowing how to avoid dangerous wildlife encounters on the trail.
If you’re just starting to explore nature, taking slow nature walks for beginners can help you practice spotting wildlife before you commit to longer treks.
Planning Your Wildlife Photography Trip
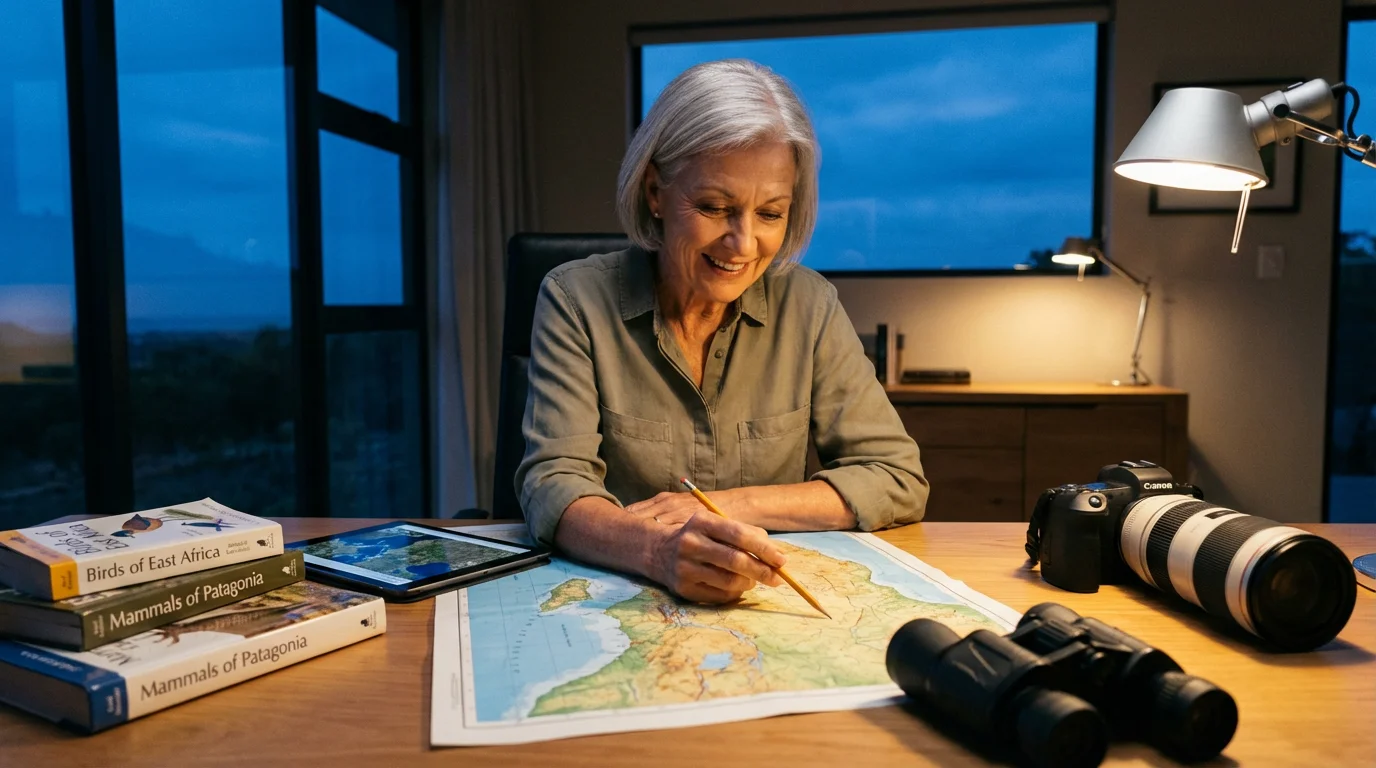
Thoughtful planning enhances your experience and maximizes your photographic opportunities. From choosing locations to understanding local regulations, preparation is key for enjoyable photography travel.
If you plan to visit multiple wildlife refuges, careful road trip planning for older adults can help you build a flexible schedule around the best times of day for animal activity.
Before setting out on any remote excursion, securing specialized adventure travel insurance for seniors is essential to protect both your health and your expensive camera equipment.
When planning any major photography trip, don’t forget to look into adventure travel insurance for seniors to protect your investment and gear.
Researching Destinations and Timing
Identify locations known for specific wildlife and research the best times to visit. Migration patterns, breeding seasons, and diurnal activity vary greatly by species and location.
- National Parks and Wildlife Refuges: These areas offer protected habitats and often have established viewing areas and knowledgeable rangers. Consult the National Park Service website for detailed information on wildlife viewing.
- Local Guides: Hiring a local guide or joining a guided tour can significantly improve your chances of finding wildlife. Guides possess intimate knowledge of animal behavior and local terrain. Companies like Road Scholar offer educational tours tailored for seniors, often including photography components.
Logistics and Preparation
Consider travel accessibility, accommodation, and physical demands for a comfortable experience.
When photographing larger animals, always maintain a safe distance and review basic tips for avoiding wildlife encounters to ensure a safe trip.
- Accessibility: Look for destinations with paved trails, boardwalks, or vehicle-based viewing opportunities if mobility is a concern.
- Accommodation: Book accommodations well in advance, especially during peak seasons. Research options that offer amenities catering to seniors.
- Permits and Regulations: Some parks or wildlife areas require permits for photography or may have specific rules about approaching animals. Always respect these regulations.
- Solo vs. Group Travel: Solo travel offers flexibility, while group tours provide safety, camaraderie, and often handle logistics for you. Group travel can be particularly beneficial for first-time international trips or remote locations.
Packing Essentials for Your Photography Adventure
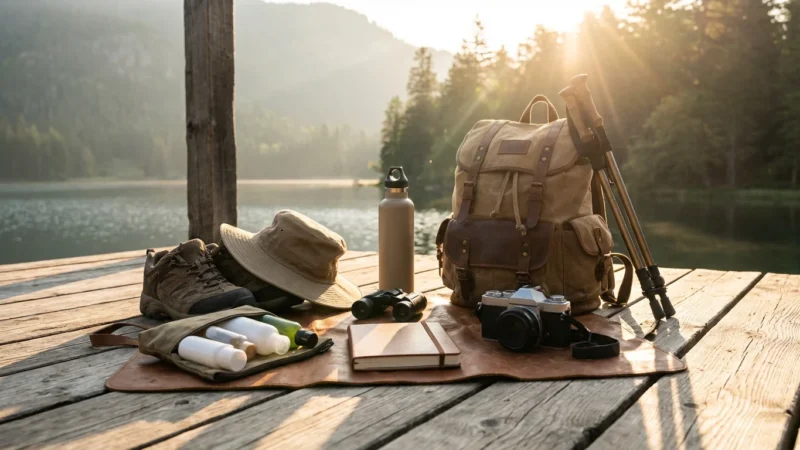
Beyond your camera gear, a thoughtful packing list ensures comfort and safety in the field.
- Comfortable, broken-in walking shoes or hiking boots.
- Layered clothing suitable for varying weather conditions.
- Wide-brimmed hat, sunglasses, and sunscreen.
- Insect repellent, especially for marshy or forested areas.
- Small backpack for water, snacks, and extra layers.
- Personal medications and a basic first-aid kit.
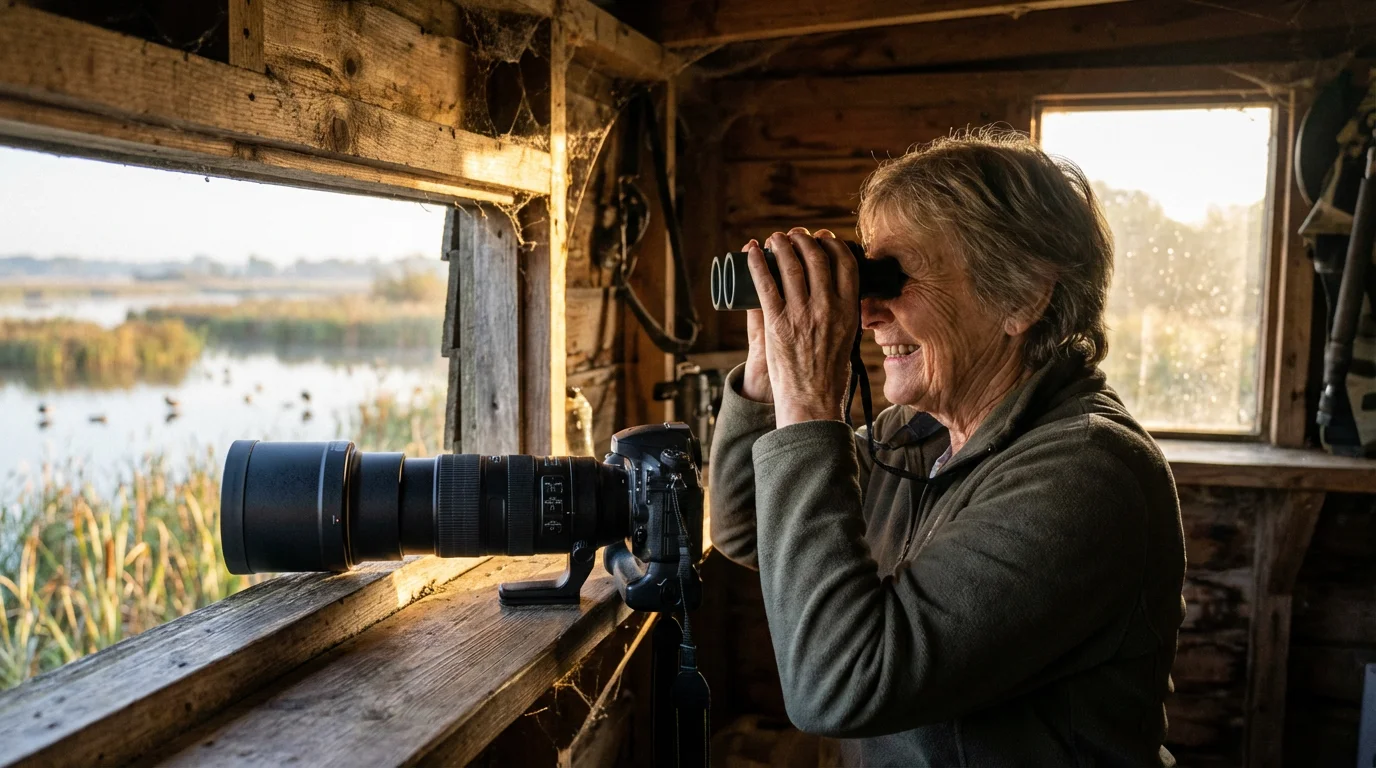
- Binoculars for spotting distant wildlife before photography.
- Portable power bank for charging phone or small devices.
Top Destinations for Senior Wildlife Photographers
The world abounds with incredible wildlife photography opportunities for you. These locations offer diverse ecosystems and robust infrastructure, making them ideal for senior photography adventures.
Domestic Gems
- Yellowstone National Park, Wyoming/Montana: Famous for its bison, elk, wolves, and bears, Yellowstone offers abundant wildlife viewing and photography opportunities. Many areas are accessible via scenic drives and boardwalks.
- Everglades National Park, Florida: A paradise for birdwatchers and alligator enthusiasts. The park features easily accessible boardwalks, boat tours, and abundant opportunities to photograph wading birds and reptiles.
- Alaska (Denali National Park, Kenai Fjords): Witness grizzly bears, moose, caribou, and marine wildlife like whales and puffins. Denali offers bus tours with strict wildlife viewing guidelines.
- Grand Teton National Park, Wyoming: Just south of Yellowstone, Grand Teton is excellent for moose, elk, and bears against a stunning mountain backdrop. The open landscapes make spotting wildlife easier.
- National Elk Refuge, Wyoming: Located near Jackson Hole, this refuge offers incredible winter viewing of thousands of elk. Sleigh rides bring you up close for photography opportunities.
International Wonders
- Costa Rica: Known for its incredible biodiversity, including sloths, monkeys, toucans, hummingbirds, and vibrant tree frogs. Many reserves offer guided tours and accessible trails.
- Galapagos Islands, Ecuador: Experience incredibly tame and unique wildlife, including giant tortoises, marine iguanas, and blue-footed boobies. Strict regulations ensure minimal human impact and fantastic close-up opportunities.
- African Safari (e.g., Tanzania, Kenya): Witness the “Big Five” (lion, leopard, elephant, rhino, buffalo) and vast herds of wildebeest and zebra. Many safari tours use comfortable 4×4 vehicles, minimizing physical exertion.
- Churchill, Manitoba, Canada: The “Polar Bear Capital of the World.” Specialized tundra buggies offer safe and warm viewing of polar bears in their natural environment during autumn.
Safety and Comfort in the Field
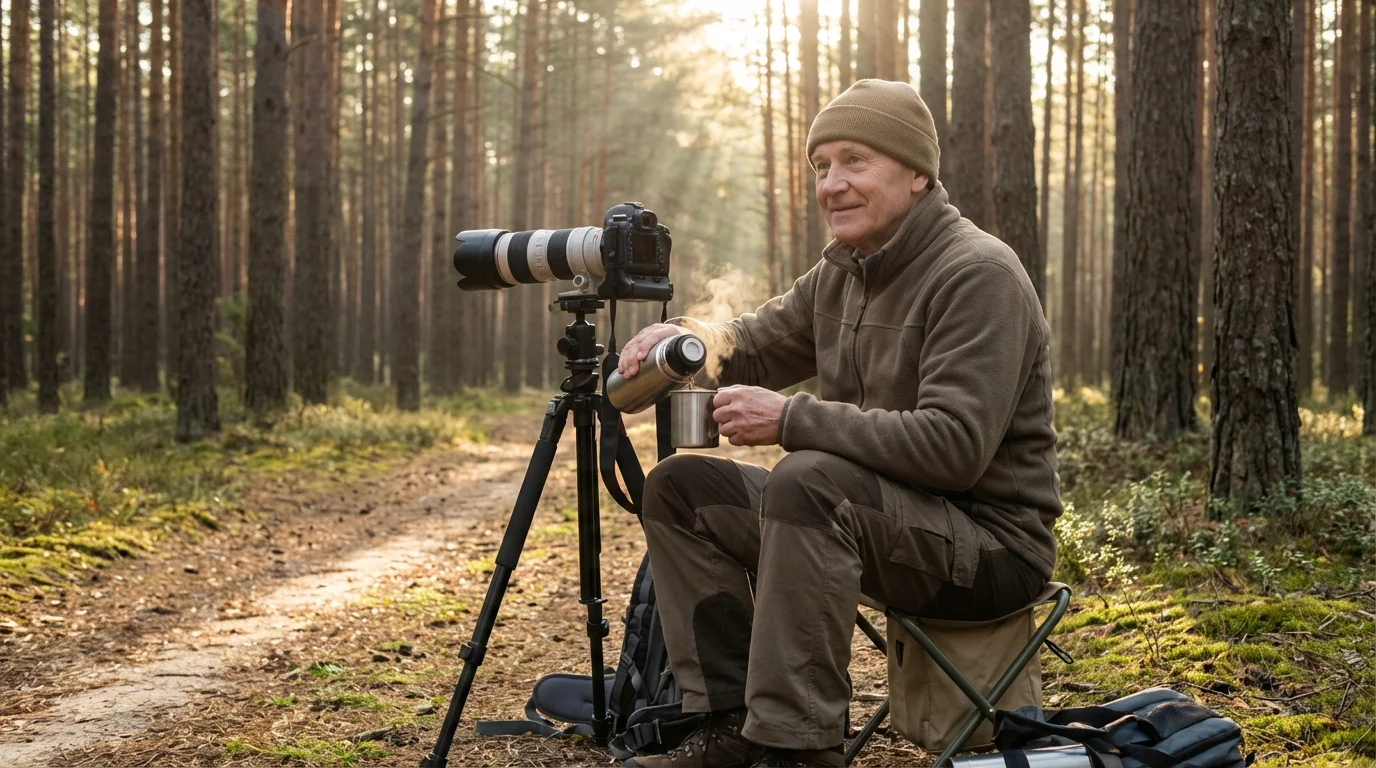
Your safety and comfort are paramount during any adventure. Adhering to best practices ensures a fulfilling and secure experience while engaging in wildlife photography.
Respecting Wildlife and Their Habitat
Always prioritize the well-being of the animals and their environment. Your presence should not alter their natural behavior.
- Maintain Distance: Use your telephoto lens to get close-up shots. Never approach or harass wildlife. The National Park Service recommends keeping at least 25 yards from most animals and 100 yards from bears and wolves.
- Do Not Feed Animals: Feeding wildlife habituates them to humans, which can lead to aggressive behavior and endanger both animals and people.
- Stay on Trails: Protect sensitive habitats and avoid disturbing nesting sites. Staying on marked trails also reduces your risk of getting lost or encountering dangerous terrain.
- Educate Yourself: Learn about the specific behaviors and potential dangers of the animals in your chosen location. Knowledge fosters respect and safety.
Personal Safety and Comfort Tips
Prepare yourself for varying conditions and physical demands.
- Hydration and Nutrition: Carry plenty of water and snacks. Staying hydrated prevents fatigue and dizziness.
- Sun Protection: A wide-brimmed hat, sunglasses, and high-SPF sunscreen are essential, even on cloudy days.
- Layered Clothing: Weather can change quickly in outdoor environments. Dress in layers so you can easily adjust to temperature fluctuations.
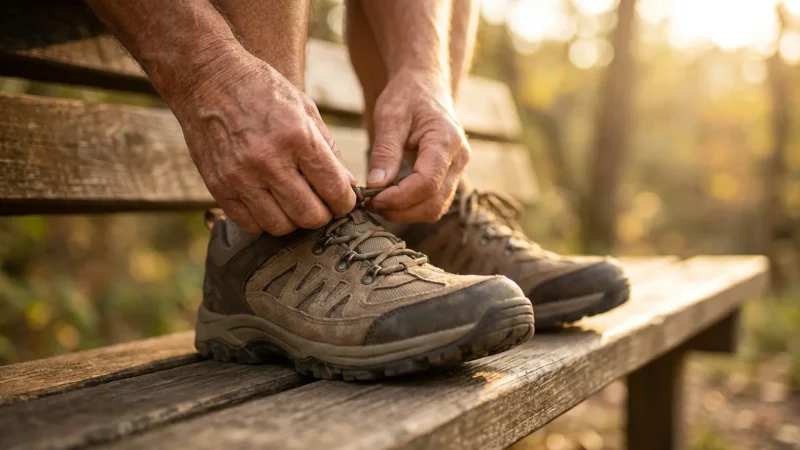
- Comfortable Footwear: Invest in supportive, waterproof, and comfortable shoes or boots, especially if you anticipate walking on uneven terrain.
- Communication: Inform someone of your itinerary. Carry a fully charged cell phone. For remote areas, consider a satellite messenger.
- Travel Health: Consult CDC Travelers’ Health for destination-specific health advice and vaccinations. Discuss your travel plans with your doctor, especially for international trips or strenuous activities.
- Consider Group Tours: Group tours often provide an added layer of safety and convenience, with experienced guides who understand local conditions and wildlife behavior.
Post-Capture: Editing and Sharing Your Photos
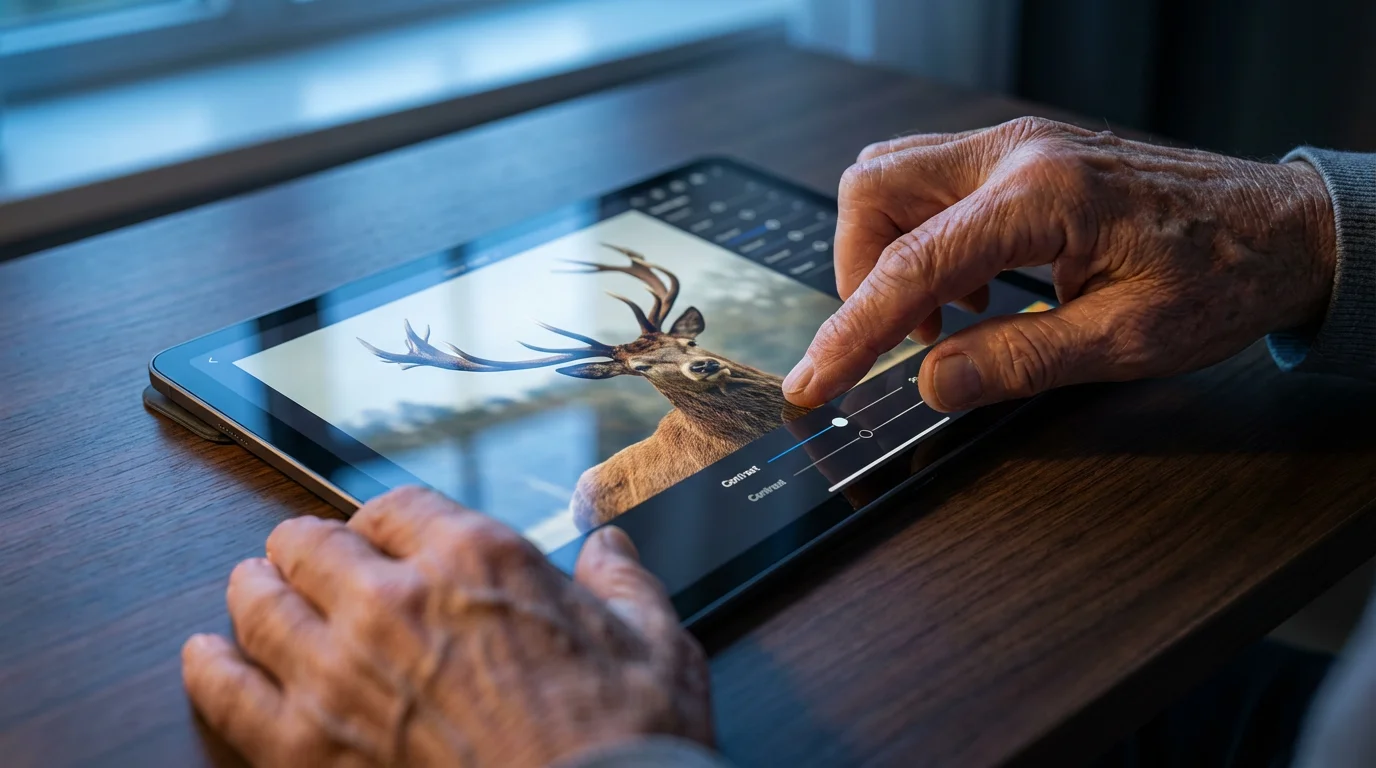
Capturing the shot is only part of the adventure. Editing and sharing your images allows you to refine your vision and connect with others. You do not need complex software to enhance your photos.
Basic Photo Editing
Even minor adjustments can significantly improve your images. You can easily learn basic editing techniques.
- Cropping: Improve composition by removing distracting elements or refining the frame.
- Exposure Adjustment: Brighten underexposed areas or darken overexposed sections.
- Color Correction: Adjust white balance to ensure accurate colors and enhance vibrancy or saturation.
- Sharpening: Bring out details, particularly in your subject’s eyes or feathers.
- Noise Reduction: Minimize graininess that can appear from high ISO settings.
Many user-friendly programs exist. Adobe Lightroom and Photoshop Elements are popular choices. Free alternatives like GIMP or online editors also offer robust tools for beginners. Many cameras also have built-in editing features.
Organizing and Backing Up Your Work
Protecting your photographic memories is crucial. Implement a reliable backup strategy.
- External Hard Drives: Store your original image files and edited versions on at least two separate external hard drives.
- Cloud Storage: Services like Google Drive, Dropbox, or iCloud offer convenient off-site backup.
- Organize Your Files: Create a logical folder structure by date, location, or subject. This makes finding specific photos much easier.
Sharing Your Adventures
Sharing your wildlife photos is a wonderful way to celebrate your achievements and inspire others.
- Photo Books: Create personalized photo books to showcase your best images.
- Online Galleries: Platforms like Flickr or SmugMug allow you to display your work to a broader audience.
- Social Media: Share your photos with friends and family on platforms like Facebook or Instagram. Consider joining wildlife photography groups to receive feedback and connect with fellow enthusiasts.
- Local Photo Clubs: Join a local photography club. These clubs often host exhibitions and provide a supportive community for learning and sharing.
Frequently Asked Questions
What is the best time of day for wildlife photography?
The “golden hour,” shortly after sunrise and before sunset, offers the best light for wildlife photography. Animals are often more active during these cooler times, and the light is soft, warm, and directional, creating beautiful effects.
Do I need a very expensive camera for senior photography?
No, you do not need an extremely expensive camera. While professional gear offers advantages, many mid-range DSLRs, mirrorless cameras, or even advanced bridge cameras provide excellent image quality and features suitable for wildlife photography. Focus on learning techniques, not just acquiring the most expensive equipment.
How can I find wildlife to photograph?
Research is key. Visit national parks, wildlife refuges, or local nature preserves. Consult park rangers, local guides, or online forums for information on recent sightings and animal behavior. Patience and quiet observation are vital; sometimes, the wildlife finds you.
Is wildlife photography physically demanding for seniors?
It can be, but you can tailor the activity to your comfort level. Many locations offer accessible viewing platforms or opportunities from vehicles. Lightweight gear and a monopod reduce strain. Joining guided tours or selecting less strenuous destinations ensures a comfortable experience. Your safety and comfort are always the top priority.
What ethical considerations should I keep in mind during wildlife photography?
Always prioritize the welfare of the animals. Maintain a respectful distance, never feed or disturb wildlife, and stay on designated trails to protect habitats. Avoid using flash directly on animals, especially at night. Your goal is to observe and capture natural behavior without intervention.
What are the benefits of joining a photography tour specifically for seniors?
Senior-focused photography tours, such as those offered by Road Scholar, often provide carefully planned itineraries with comfortable pacing, accessible locations, and expert guides who understand the unique needs and interests of older travelers. They handle logistics, offer a built-in community, and provide hands-on instruction, making the experience more enriching and worry-free.
Disclaimer: This article is for informational purposes only. Travel conditions, accessibility, and requirements change frequently. We encourage readers to verify current information with official sources before traveling. Always consult with healthcare providers about travel considerations for your specific health situation.
Leave a Reply