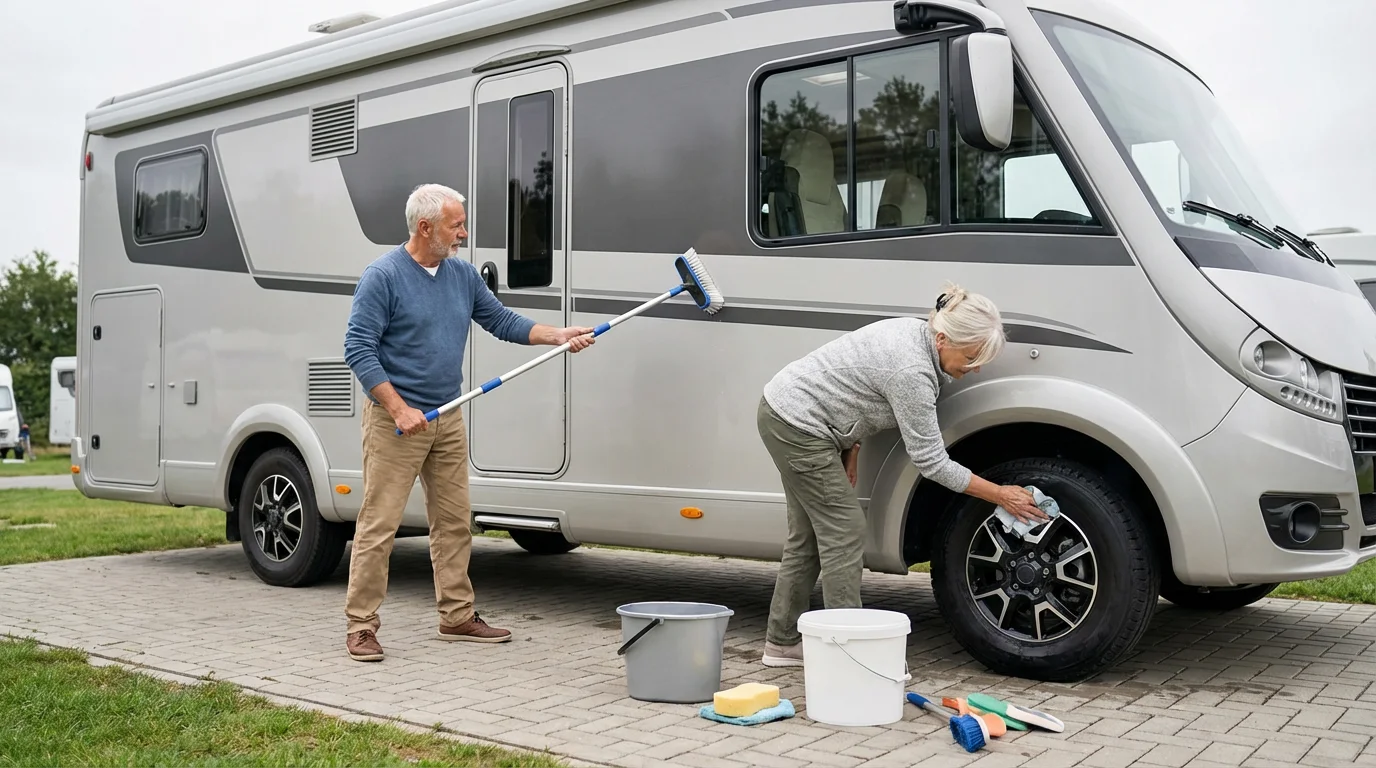
Neglected roof seams and underinflated tires cause most preventable RV breakdowns and structural repairs. Moisture creeps through cracked lap sealant long before ceiling stains appear, while underinflated sidewalls overheat and blow out at highway speeds.
Preventing both failures requires inspecting roof seals every 3 to 6 months, verifying cold tire pressure before every drive, and shutting propane valves off before moving. A compact 12-item toolkit handles driveway checks, leaving membrane repairs and fuel diagnostics to certified technicians.
Propane Shutoffs, RVIA Standards, and Cold Tire Baselines
Coaches and trailers carrying the RV Industry Association (RVIA) seal meet more than 500 adopted safety requirements across propane, plumbing, and electrical systems. Those rules align with NFPA 1192 (2026 Edition) fire and life-safety criteria for appliance venting and fuel lines.
Keep propane cylinders upright with main tank valves shut completely off before refueling or moving. Even with the supply turned off in transit, a latched RV refrigerator stays cold for several hours.
Low bridges and weight-restricted roads create costly detours for tall or heavy rigs. Check clearance and route limits ahead of departure with RV-specific GPS routing tools before pulling out.
Tire maintenance follows posted load ratings rather than visual tread estimates. Inflate every wheel, including the spare and any tow-dolly tires, to the cold pressure printed on the RV certification placard inside the coach, never the maximum pressure molded into the tire sidewall.
Measure tire pressure cold before driving one mile or after the rig sits shaded for three hours. Verify wheel lug-nut torque with a calibrated wrench before seasonal trips and again 50 miles after any wheel removal.
Rubber compounds harden from sunlight and oxidation even when tread depth appears healthy. Most RV and tire manufacturers advise replacing RV tires every five to seven years based on the four-digit DOT week-and-year date code stamped on the sidewall.
RV Maintenance Schedule by Interval
Organizing inspections by time and trip milestones keeps minor gasket wear from turning into floor or wall rot. Follow this schedule to separate routine owner checks from certified shop work.
| Interval | System or Component | Inspection or Action | DIY or Certified Tech |
|---|---|---|---|
| Before every trip | Tires, lug nuts, and exterior lights | Check cold PSI including spare, verify lug torque, test signals, and retract awnings and steps | DIY |
| Before every trip | Propane, alarms, and utility hookups | Shut main propane valves off, test smoke, CO, and LP alarms, and disconnect power, water, and sewer | DIY |
| Monthly (including storage) | House batteries and tire pressure | Top off flooded lead-acid cells with distilled water, clean terminals, check charge voltage, and verify cold PSI | DIY |
| Monthly (active travel) | Slide-outs, awnings, and interior plumbing | Wipe slide seals with rubber conditioner, apply dry PTFE track lube, and inspect sink traps for drips | DIY |
| Every 3 to 6 months | Roof membrane, vents, and lap sealants | Inspect seams from the ground with a pole camera; touch up minor cracks only with membrane-matched sealant | DIY check; Tech for resealing |
| Annually | Potable water tank and water heater | Sanitize fresh tank; replace steel-tank (Suburban) anode rod at roughly 75% wear (aluminum Dometic/Atwood units have no anode rod and use a plastic drain plug) | DIY |
| Annually or per chassis miles | Engine, brakes, bearings, and LP pressure | Change engine and generator oil, inspect brake pads, repack trailer wheel bearings, and run propane leak-down tests | Certified chassis or RV tech |
| Seasonal (freezing forecast) | Fresh-water lines and holding tanks | Bypass and drain the water heater, open low-point drains, and pump non-toxic pink RV antifreeze through all fixtures | DIY or Certified tech |
Compact 12-Item Toolkit for Driveway and Campsite Checks
A single portable kit handles daily inspections without cutting into cargo carrying capacity. Storing these tools in an accessible exterior bay turns pre-departure checks into a 15-minute routine.
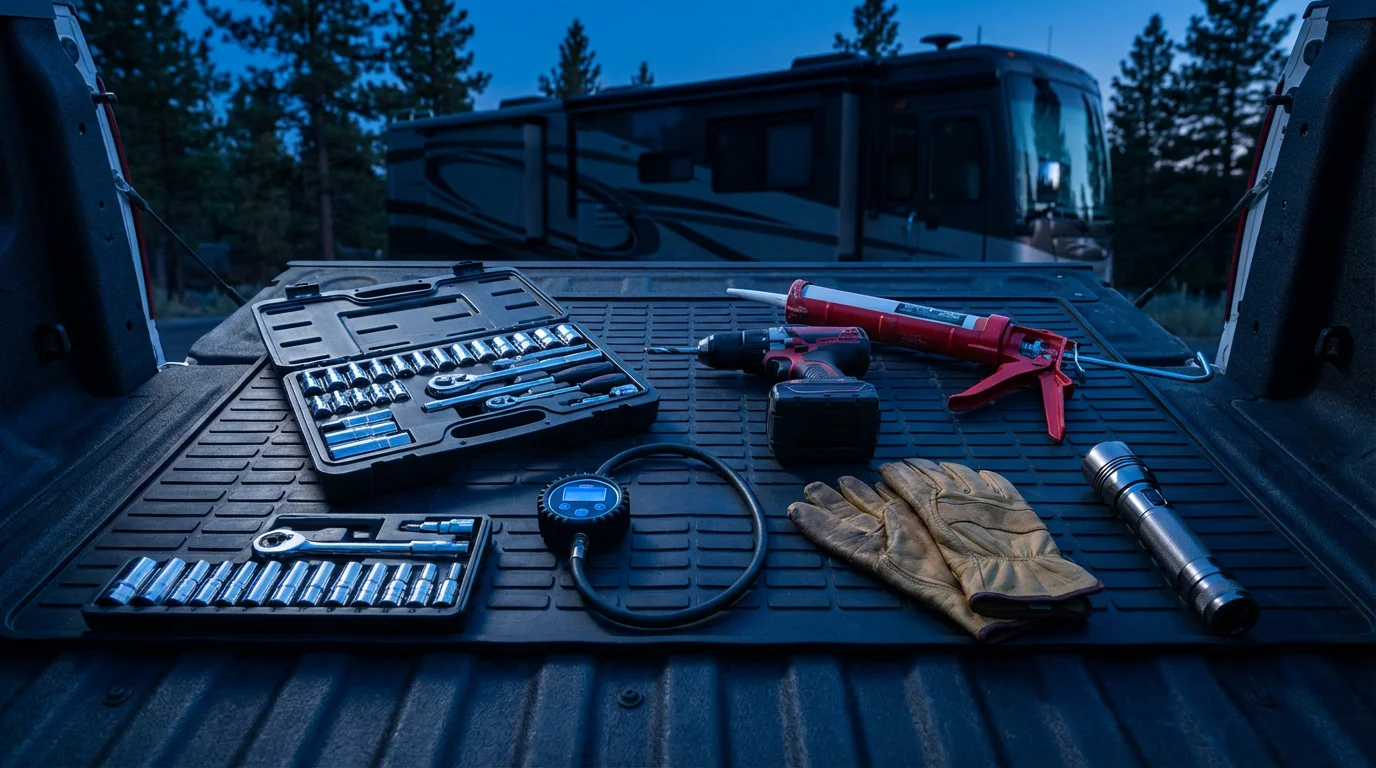
- Dual-foot tire pressure gauge to reach inner dual rear wheel valves accurately
- Click-type torque wrench calibrated to chassis wheel lug-nut specifications
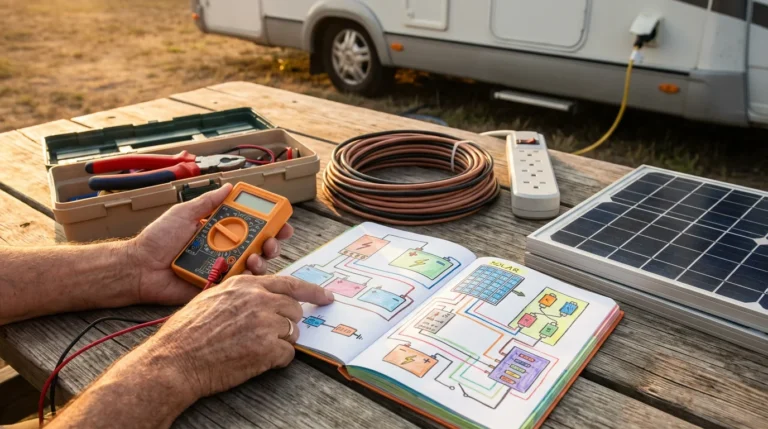
- Digital multimeter and surge tester for 12-volt batteries, fuses, and campground pedestals
- Heavy-duty wheel chocks and interlocking leveling blocks for stable parking
- Caulking gun with membrane-matched self-leveling roof sealant and vertical non-sag sealant
- Combination wrenches, socket set, pliers, and Phillips and flathead screwdrivers
- Assorted spare blade fuses covering 10A, 15A, 20A, and 30A coach circuits
- Telescoping inspection camera pole or extendable mirror for ground-level roof viewing
- Dry PTFE slide-out lubricant and RV-approved rubber seal conditioner
- Work gloves, safety glasses, headlamp, and a foam kneeling pad
- Drain pan and long-neck funnel for clean oil and coolant top-offs
- Electrical tape and cloth duct tape for temporary wire or hose stabilization
Fresh-Water Sanitizing, Winterizing, and Spring Flushing
Annual tank sanitizing clears biofilm from potable plumbing, while fall winterization prevents freeze bursts in PEX lines and brass valves. Both jobs rely on exact chemical ratios and valve order rather than guesswork.
Mix 1/4 cup of unscented household bleach per 15 gallons of fresh-water tank capacity into 1 gallon of water before pouring. For a 45-gallon tank, pre-mix 3/4 cup (6 fluid ounces) of household bleach into a gallon of water before filling.
Fill the tank with fresh water, run each faucet until bleach smells, wait several hours, and flush with fresh water until clear. Use the table below to match bleach volume to standard RV tank sizes.
| Tank Capacity (Gallons) | Household Bleach (Cups) | Household Bleach (Fluid Ounces) | Pre-Mix Water Carrier |
|---|---|---|---|
| 30 | 1/2 cup | 4 oz | 1 gallon |
| 45 | 3/4 cup | 6 oz | 1 gallon |
| 60 | 1 cup | 8 oz | 1 gallon |
| 90 | 1-1/2 cups | 12 oz | 1 gallon |
Winterize whenever forecasts drop to 32 degrees Fahrenheit or lower for several hours. Follow this sequence to clear water and protect drain traps before freezing temperatures arrive:
- Empty black, grey, and fresh-water tanks completely at a dump station, and drain the cooled water heater.
- Turn the water-heater bypass valves so antifreeze will not fill the 6-to-10-gallon heater tank.
- Open all hot and cold faucets, low-point drains, and the toilet valve until flow stops, then close drains and faucets.
- Pump non-toxic pink propylene-glycol RV antifreeze into the water-pump intake, opening each hot and cold fixture until pink liquid flows.
- Pour one cup of pink antifreeze into every sink trap, shower drain, and toilet seal, and remove filter cartridges for indoor storage.
In spring, flush pink antifreeze from cold and hot lines with fresh water before reinstalling water filters. Reinstall the water heater drain plug or anode rod, close bypass valves, and purge air from a hot faucet before turning on the heater element.
Ladder-Free Roof Checks, Battery Care, and Chassis Intervals
Wet, curved, or oxidized RV roofs pose severe ladder and fall hazards. Skip climbing onto the roof for routine cleaning or caulking whenever ground-level tools can handle the inspection.
Inspect vent housings, skylight domes, and roof seams from the pavement using a telescoping pole camera or binoculars from a raised deck. When lap sealant shrinks or lifts, hire an RV Technical Institute (RVTI) certified technician for safe resealing.
Sealant chemistry must match the roof material, because household silicone eats away adhesive bonds and prevents future lap sealant from sticking. Use self-leveling sealant only on flat roof seams and non-sag sealant on vertical sidewalls and window frames.
House electrical reliability depends on proper battery care and clean shore-power connections. Top off flooded lead-acid cells monthly with distilled water, clean corroded terminals, and inspect 30-amp or 50-amp cord blades for heat discoloration before plugging into campground pedestals.
Never discharge flooded lead-acid or AGM batteries below 50 percent capacity, and disconnect storage parasitic loads to prevent permanent sulfation. Standard lithium house batteries avoid watering, yet must not be charged below 32 degrees Fahrenheit without built-in low-temperature protection.
Review RV electrical system fundamentals before swapping lead-acid banks for lithium batteries or upgrading converters and solar charge controllers.
Motorized RVs also require chassis oil, coolant, transmission fluid, fuel filter, and belt service on the engine maker’s schedule. Even lightly driven motorhomes need annual oil changes to remove moisture and acids collected during storage.
Have a commercial chassis mechanic inspect brake pads, rotors, drums, and hydraulic or air lines every year. Towable owners should schedule annual wheel-bearing repacks and electric brake inspections before long summer climbs.
Five Maintenance Shortcuts That Damage Seals, Plumbing, and Tires
Seasonal fire-safety routines recommended by the U.S. Fire Administration include inspecting propane supply lines for kinks and testing alarms before every season. Cutting corners on fuel, water, or tire upkeep creates hazards that far exceed the cost of routine parts.
- Refueling with propane valves open: Active pilot flames or pressurized line leaks risk ignition near fuel pumps and dispenser vapors.
- Pressure-washing RV roofs and sidewalls: High-pressure spray slices rubber membranes, lifts lap sealant, and forces water behind window frames and graphic decals.
- Using automotive antifreeze in potable plumbing: Ethylene glycol radiator fluid is toxic; only pink propylene-glycol RV antifreeze is safe for water lines and traps.
- Inflating tires to sidewall maximums: Overinflation shrinks the contact patch, transmits harsh road shock into cabinetry, and wears center tread prematurely.
- Firing a dry electric water heater: Switching on a 120-volt heating element before filling the tank burns out the element in seconds.
Recurring breaker trips, LP gas odors, structural frame cracks, and safety recalls require diagnostic gauges and shop lifts. Keep maintenance logs, DOT tire dates, and appliance serial numbers in the glovebox so technicians can order exact replacement parts promptly.