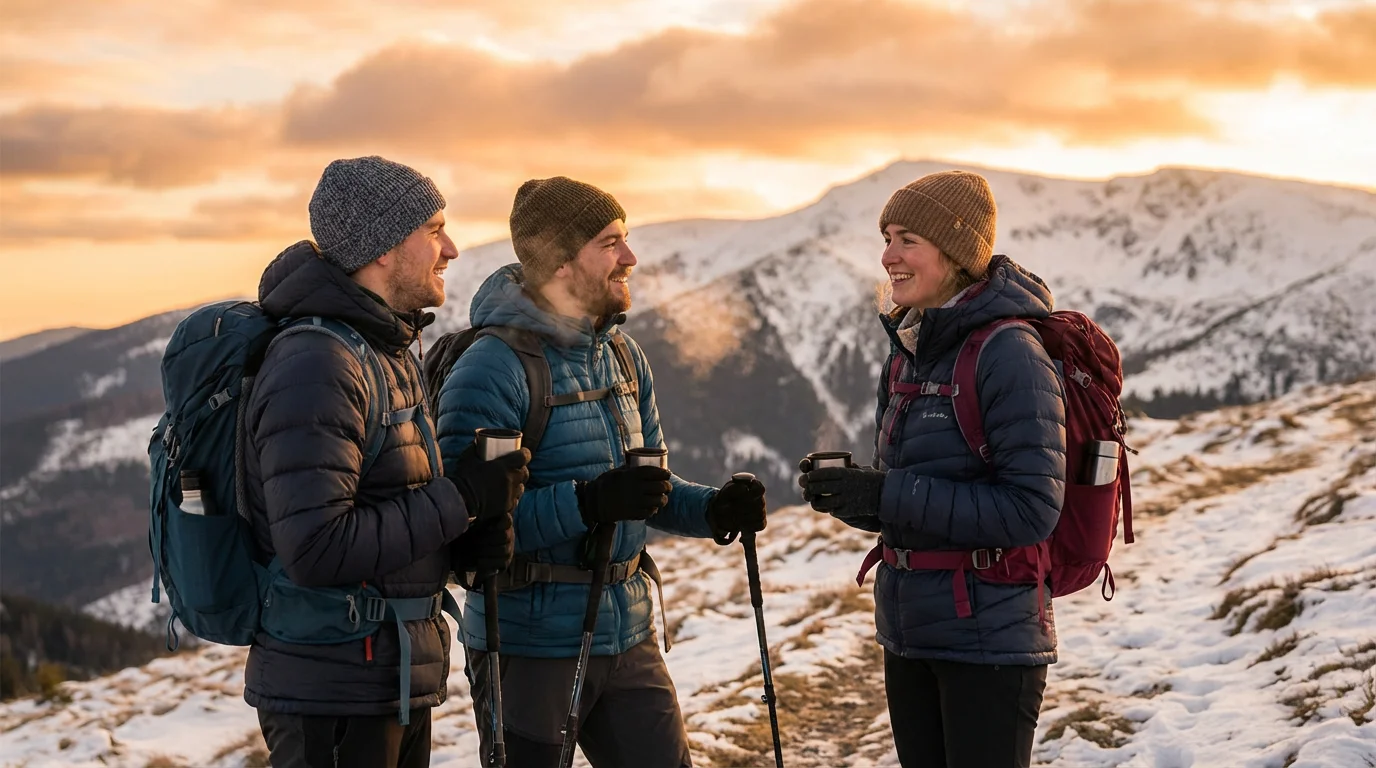
Aging blunts the body’s ability to sense dropping skin temperatures, while winter solstice daylight narrows to roughly 8 hours and 25 minutes at northern U.S. parks. Cold-weather hiking stays safe when gear and pacing account for slower circulation and early twilight.
Matching spike depth to the surface, starting slightly cool to avoid sweat-chill, and turning back by 2:30 p.m. in December and January prevent most winter trail incidents. The right traction and layering keep you steady across freeze-thaw trails.
Cold Physiology, Circulation, and Medication Effects Over 60
According to the National Institute on Aging, older adults lose heat faster and often notice cold later than younger hikers. Chronic conditions such as diabetes, thyroid disorders, and arthritis also reduce circulation and stiffen joints in freezing air.
Cardiovascular prescriptions add another constraint in freezing air. According to the National Institute of Arthritis and Musculoskeletal and Skin Diseases, beta-blockers can trigger Raynaud’s symptoms, narrowing small blood vessels so fingers and toes numb faster.
Never alter a prescription dose for a hike without consulting your prescribing clinician or pharmacist. Instead, counter sluggish peripheral circulation mechanically by insulating your torso well before fingers feel numb.
Cold-triggered blood-vessel spasms start when your core cools, not just your hands. Adding an insulated fleece vest keeps central blood flow steady and often warms cold fingers faster than switching to bulkier gloves alone.
Wind accelerates that heat loss dramatically on exposed ridges and lakeshores. NOAA’s Wind Chill Chart notes that frostbite can develop on exposed skin in 10 to 30 minutes depending on air temperature and wind speed.
Matching Traction Spikes and Pole Tips to Freeze-Thaw Surfaces
Daytime snowmelt refreezes overnight into clear glare ice along shaded switchbacks, footbridges, and packed trails. Standard rubber boot lugs slide without warning on that thin ice film, making removable traction necessary from November through March.
Match spike length and frame width to the trail surface beneath your boots so cleats neither slip on hard ice nor snag exposed rock:
- Rubber coil cleats: Spiral steel coils on rubber webbing grip wet slush and flat snow under 1 inch on neighborhood sidewalks, though coils slip on steep hills and snap quickly on sharp gravel.
- Kahtoola NANOspikes: Ten 0.21-inch (5.3 mm) tungsten carbide spikes per foot set in flexible TPU plates bite black ice on paved greenways and boardwalks without tripping you across bare asphalt.
- Kahtoola MICROspikes: Twelve 0.41-inch (10.4 mm) stainless steel spikes per foot across sizes XS through XXL, linked by welded chains, dig into packed snow, crusted drifts, and icy grades unless exposed rock snags the longer points.
- Snowshoes: Wide aluminum or composite frames with underfoot cleats float across unconsolidated snow deeper than 6 inches where hikers would otherwise posthole, but wide tails snag exposed roots and boulders.
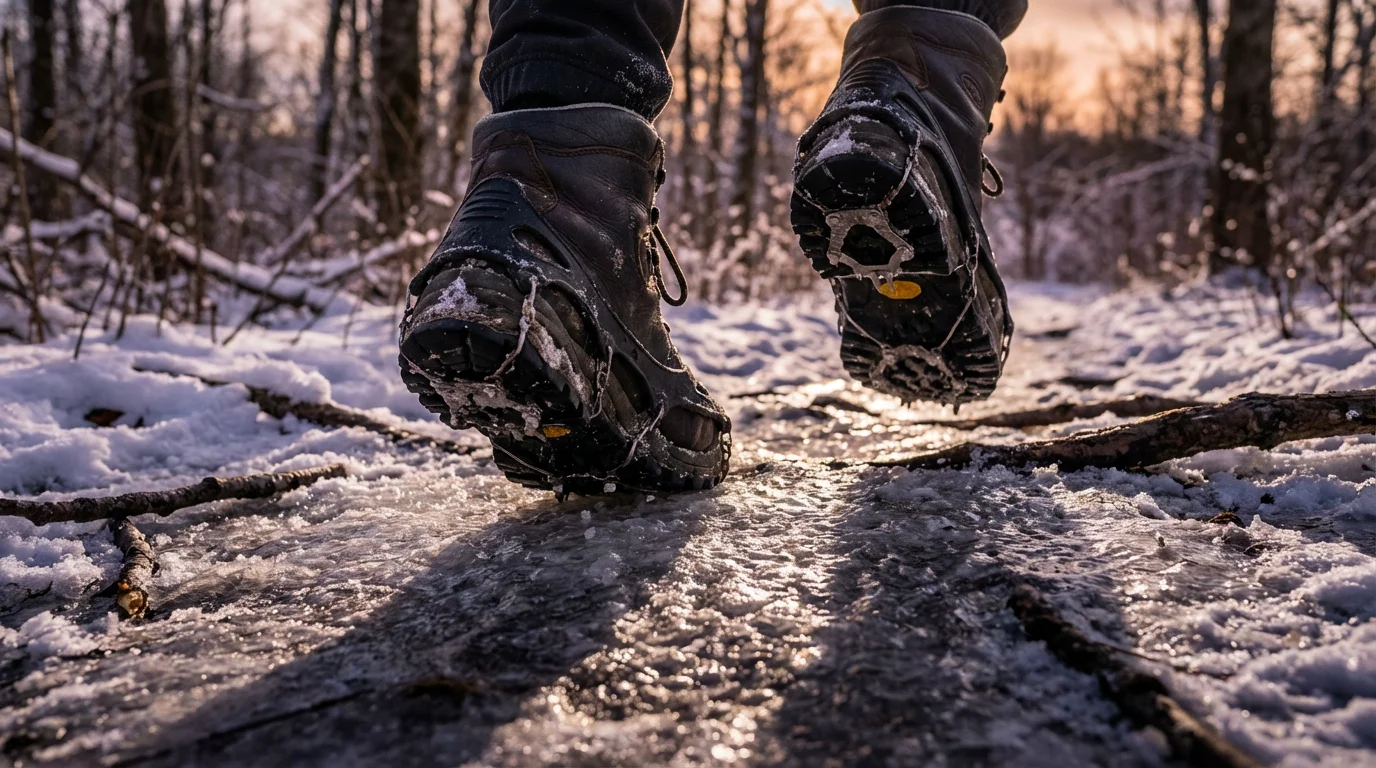
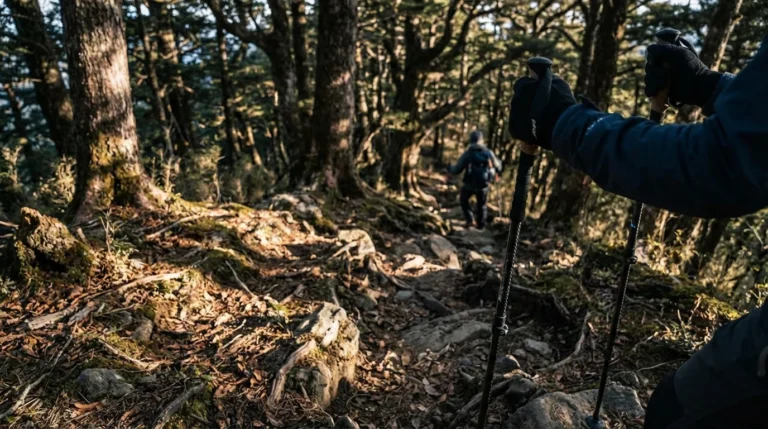
Pair foot traction with trekking poles fitted with snow baskets so tips stay above the crust. Leave carbide tips bare on ice and snow, then add rubber tips on dry rock or wet boardwalks.
Warm, dry feet start with waterproof boots sized large enough for thick merino socks without pinching toes. Tight laces compress blood vessels and speed up frostnip, so check toe wiggle room using the sizing rules in our travel footwear guide.
Preventing Sweat-Chill with the Boldly Cold Layering Rule
Dressing too warmly at the trailhead creates a hidden hazard 20 minutes up the first hill. Sweat soaks base layers during steep climbs, then rapidly pulls heat from your skin the moment you pause in cold wind.
Use the boldly cold rule: step out of your car feeling slightly chilly for the first 10 minutes of walking. Your muscles generate ample heat within half a mile, bringing your temperature up without dampening your shirt.
Manage heat proactively before sweat starts rather than peeling layers after you feel clammy. Open jacket pit-zips and drop your fleece mid-layer at the bottom of a sustained climb, then put the dry fleece back on immediately at the summit.
Build your system with a merino wool or polyester base layer, a fleece or synthetic-fill mid-layer, and a windproof, waterproof outer shell. Avoid cotton everywhere, including underwear and neck gaiters, because wet cotton holds cold moisture against your skin.
For stiff joints or Raynaud’s sensitivity, choose waterproof insulated mittens over fingered gloves so fingers share warmth inside one chamber. Slide thin liner gloves underneath for handling zippers, and tuck air-activated chemical warmers against your wrists or palms for multi-hour warmth.
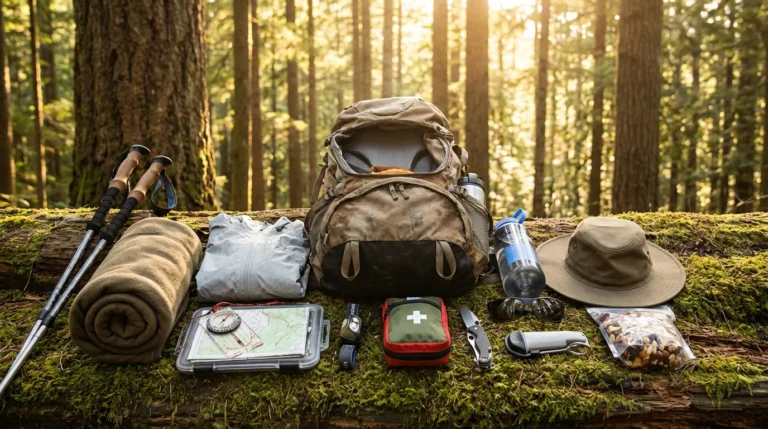
Stash dry backup wool socks, spare liner gloves, and a fleece beanie inside a sealed plastic bag. Pair those spares with the headlamp, whistle, and emergency bivy covered in our Ten Essential Items for Every Senior Hiker’s Backpack guide.
2:30 PM Turnaround Rule and Protecting Lithium Phone Batteries
Short winter afternoons leave little margin for slow snow travel or unexpected detours. At Mount Rainier National Park, winter solstice daylight shrinks to about 8 hours and 25 minutes with sunset before 4:30 p.m., and shaded valleys grow dark far earlier.
Set a firm 2:30 p.m. turnaround in December and January so you exit 90 minutes before sunset, while you can still spot slick roots before twilight flattens depth perception. An 11:30 a.m. start on a 4-mile out-and-back snow trail meets that cutoff.
At a steady 1.5 mph winter pace, 4 miles require 2 hours and 40 minutes of walking plus 20 minutes of rest. That three-hour window puts you back at the trailhead by 2:30 p.m. with nearly two hours of daylight margin.
Cold air also knocks out smartphone navigation well before the battery reads empty. Apple rates iPhones for 32°F to 95°F (0°C to 35°C), warning that freezing air can shorten battery life and trigger sudden shutdowns near 50% charge.
Keep your phone in an inner chest pocket where body heat keeps the lithium cell above freezing. Place a chemical warmer next to a backup power bank inside an insulated pouch, and carry a paper trail map and compass because screens fail first.
Hydrating When Cold Air Blunts Thirst and Freezes Bottle Threads
Cold, dry air pulls moisture from your lungs with every breath while aging naturally dampens thirst signals and reduces kidney water conservation. Waiting until your mouth feels dry on a 25°F hike leaves you fatigued and less able to regulate core temperature.
Skip hydration bladders in freezing weather because water trapped in the thin drinking tube freezes solid within 20 to 30 minutes. Carry two 24-ounce or 32-ounce wide-mouth insulated bottles filled with warm water or unsweetened herbal tea instead.
Store those wide-mouth bottles upside down inside insulated pack sleeves during subfreezing hikes. Water freezes from the top down inside a bottle, so inverting it forces any ice crust toward the base and keeps the screw threads clear for pouring.
Eat 200 to 300 calories per hour so your body has fuel to generate heat on steady climbs. Choose fat-rich foods that stay soft in freezing air, such as roasted nuts, squeeze packets of almond butter, sharp cheddar cubes, and soft fig bars.
Keep snacks inside an inner jacket pocket rather than an outer pack lid. Frozen energy bars with caramel or hard nougat can crack dental work in cold weather, whereas pocket-warmed nuts and cheese chew easily during brief standing breaks.
Shakedown Walks, Park Ranger Snowshoe Tours, and Float Plans
Test new traction devices, layering vents, and upside-down bottles on flat, accessible routes before committing to steep backcountry climbs. Paved rail trails, county park boardwalks, and cleared lakeside loops let you step onto scattered ice patches within 15 minutes of a warm car.
Once you feel steady on mixed ice, check current conditions, road closures, and winter gear advisories through the National Park Service’s Be Winter Ready safety guide. Many national and state parks also run weekend ranger-led snowshoe walks with loaner snowshoes for beginners.
Always share your exact trailhead, route, vehicle description, and return deadline with a contact at home before losing cell signal. Check elevation, recent snowfall, and grade details using our senior-friendly trail selection guide so your winter distance matches daylight.