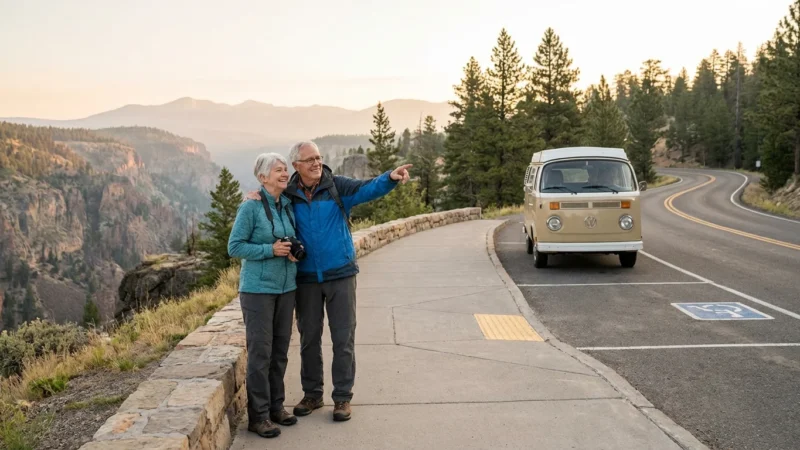
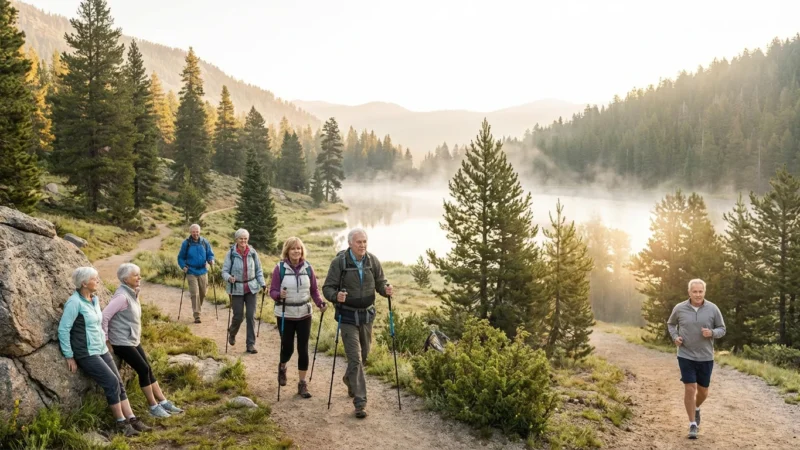
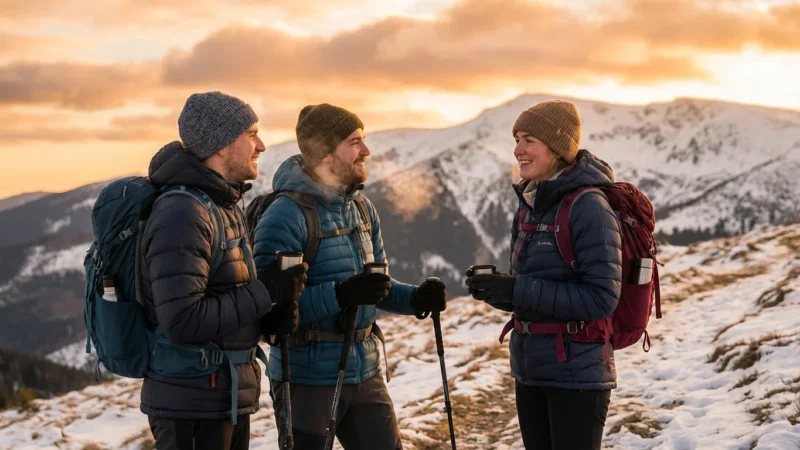
The trail offers countless wonders, from towering ancient trees to sweeping vistas and delicate wildflowers. As you explore America’s breathtaking landscapes or venture into international marvels, you create invaluable memories. Why not capture these moments with skill and artistry?
Photography elevates your outdoor adventures. It allows you to document your journey, share your experiences, and revisit those incredible sights long after you return home. You do not need to be a professional to take stunning outdoor photos. This guide offers practical advice and senior photography tips to help you capture better photos while hiking, regardless of your camera or experience level.
Table of Contents
- Choosing Your Trail Camera: Lightweight and Capable
- Essential Gear for the Photography Hiker
- Mastering the Basics: Fundamental Photography Tips
- Safety and Comfort on Your Photographic Journey
- Capturing the Essence: Advanced Techniques for Outdoor Photos
- Post-Processing: Enhancing Your Outdoor Memories
- Sharing Your Adventures: Connecting Through Images
- Frequently Asked Questions
- Embrace the Lens, Embrace the Trail
Choosing Your Trail Camera: Lightweight and Capable
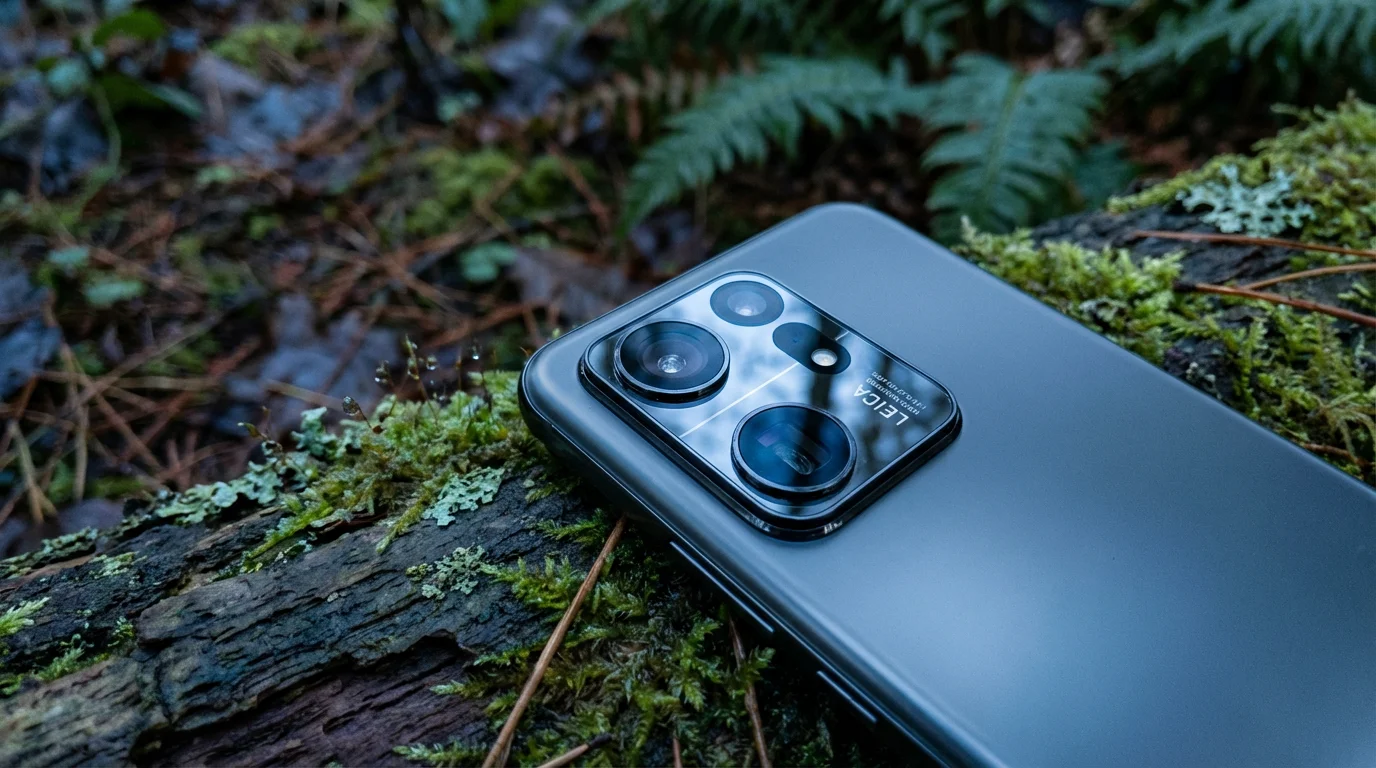
Selecting the right camera for your hiking adventures makes a significant difference in both the quality of your outdoor photos and your overall enjoyment. You need a camera that balances image quality with portability and ease of use. Consider your comfort level with technology and the weight you want to carry.
Many seniors ask, what camera is best for senior hikers? The answer depends on your priorities. Modern smartphones offer incredible convenience and capability, making them an excellent choice for casual photographers. Dedicated cameras provide more control and superior image quality.
Understanding Your Camera Options
You have several excellent options for trail photography. Each type offers distinct advantages for capturing those memorable moments. Weigh these factors against your personal preferences and hiking style.
Smartphones are incredibly powerful. They fit easily into a pocket, always remain accessible, and handle basic photography tasks wonderfully. Many newer models feature multiple lenses and advanced computational photography, producing impressive results.
Compact cameras, or point-and-shoots, often provide better optical zoom and larger sensors than smartphones. They remain lightweight and easy to operate. Some rugged models even offer water and shock resistance, ideal for adventurous trails.
Mirrorless cameras combine the image quality of DSLRs with a smaller, lighter form factor. They feature interchangeable lenses, giving you creative flexibility. These cameras require a bit more technical knowledge but deliver exceptional results.
Digital Single-Lens Reflex (DSLR) cameras offer the most control and the largest sensors. However, they are typically heavier and bulkier, making them less ideal for long hikes where weight is a primary concern. You will find their robust construction and vast lens selection appealing if maximum image quality is your top priority.
Camera Comparison for Hikers
This table helps you compare common camera types. It focuses on features relevant to your outdoor photographic adventures.
| Camera Type | Pros for Hiking | Cons for Hiking | Ideal User |
|---|---|---|---|
| Smartphone | Lightweight, always with you, simple to use, good for sharing. | Limited optical zoom, smaller sensor, less manual control. | Casual photographer, prioritizes convenience. |
| Compact/Point-and-Shoot | More zoom than phone, often rugged, better image quality than phone, still portable. | Fixed lens, limited low-light performance on basic models. | Intermediate user, wants better quality without bulk. |
| Mirrorless Camera | Excellent image quality, interchangeable lenses, lighter than DSLR, good manual control. | More expensive than compacts, requires carrying extra lenses, steeper learning curve. | Enthusiast, wants creative control and quality. |
| DSLR Camera | Best image quality, vast lens selection, robust build, maximum control. | Heaviest and bulkiest option, not ideal for long, strenuous hikes. | Serious hobbyist, prioritizes ultimate image quality. |
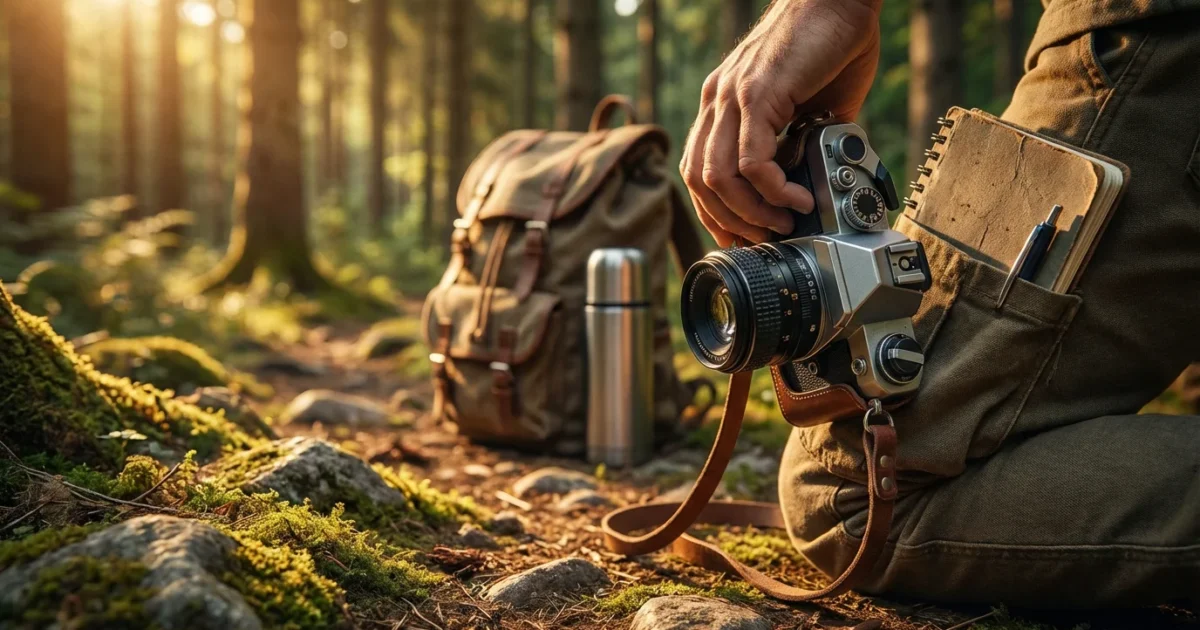
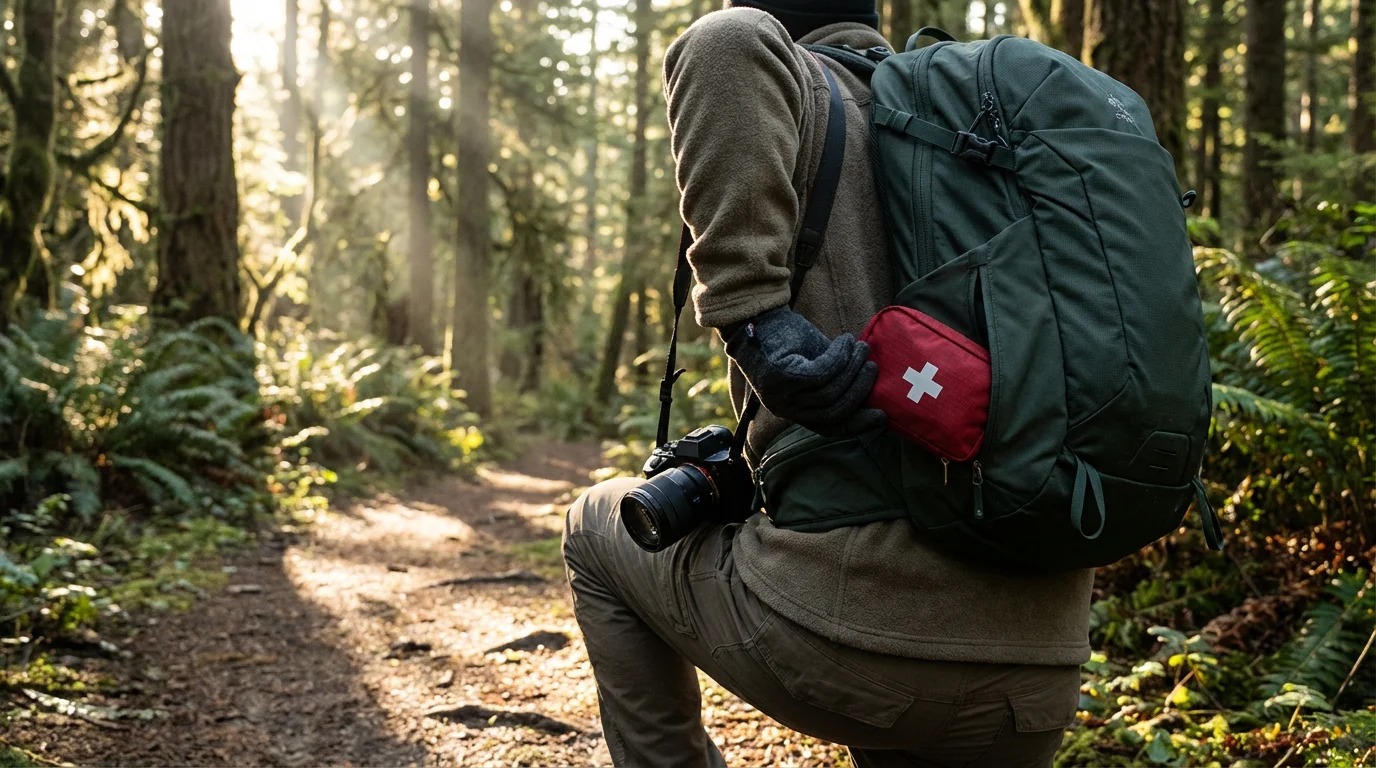
Essential Gear for the Photography Hiker
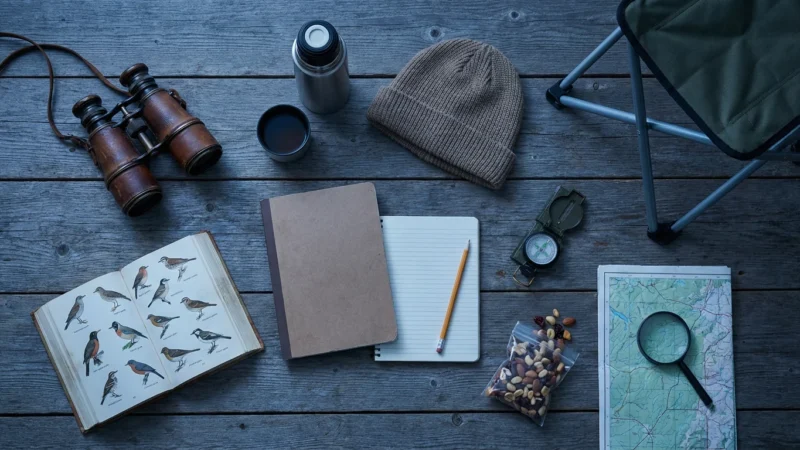
Beyond the camera itself, a few key accessories enhance your photography experience on the trail. These items protect your gear, improve your shots, and ensure you remain prepared for any situation. Prioritize items that are lightweight and durable.
Consider a comfortable and secure camera strap or harness. This prevents drops and distributes weight effectively. You can keep your camera readily accessible without holding it continuously.
Your Photography Packing List
Prepare a concise packing list to ensure you bring everything necessary without overpacking. Smart packing enhances your enjoyment and photographic opportunities.
- Camera: Your chosen camera body.
- Lenses: If using a mirrorless or DSLR, one versatile zoom lens is often sufficient. Consider a wide-angle for landscapes.
- Extra Batteries: Cold weather drains batteries faster. Always carry at least one spare, fully charged.
- Memory Cards: Bring multiple high-capacity cards. You will never want to miss a shot because of a full card.
- Lens Cloth and Blower: Keep your lenses clean from dust, dirt, and smudges. A small microfiber cloth and a rubber blower work wonders.
- Small Tripod or Monopod: Essential for sharp low-light shots, waterfalls, or self-portraits. Choose a lightweight travel model.
- Rain Cover/Weather Protection: Protect your camera from unexpected rain or splashes. A simple plastic bag works in a pinch.
- Camera Bag/Pouch: A well-padded, easily accessible bag integrated into your hiking pack or a dedicated chest pouch protects your gear.
- Headlamp: Useful for early morning or late evening photography.
Mastering the Basics: Fundamental Photography Tips
Excellent outdoor photos begin with understanding fundamental photography principles. You do not need expensive equipment to apply these techniques. Focus on composition, lighting, and understanding your camera settings to improve how to take better photos while hiking.
Your eye for detail and patience contribute significantly more than any advanced camera feature. Take your time, observe your surroundings, and anticipate photographic opportunities. Practice makes perfect, and every hike offers new learning experiences.
Actionable Photography Tips for the Trail
Apply these practical photography tips on your next hike to elevate your images. These simple adjustments produce dramatic improvements in your results.
- Master the Rule of Thirds: Imagine your frame divided into nine equal sections by two horizontal and two vertical lines. Place your subject or points of interest along these lines or at their intersections for a more balanced and engaging composition.
- Utilize Leading Lines: Look for natural lines in the landscape, such as trails, rivers, fences, or tree branches. These lines draw the viewer’s eye into the photograph and toward your subject, creating depth and direction.
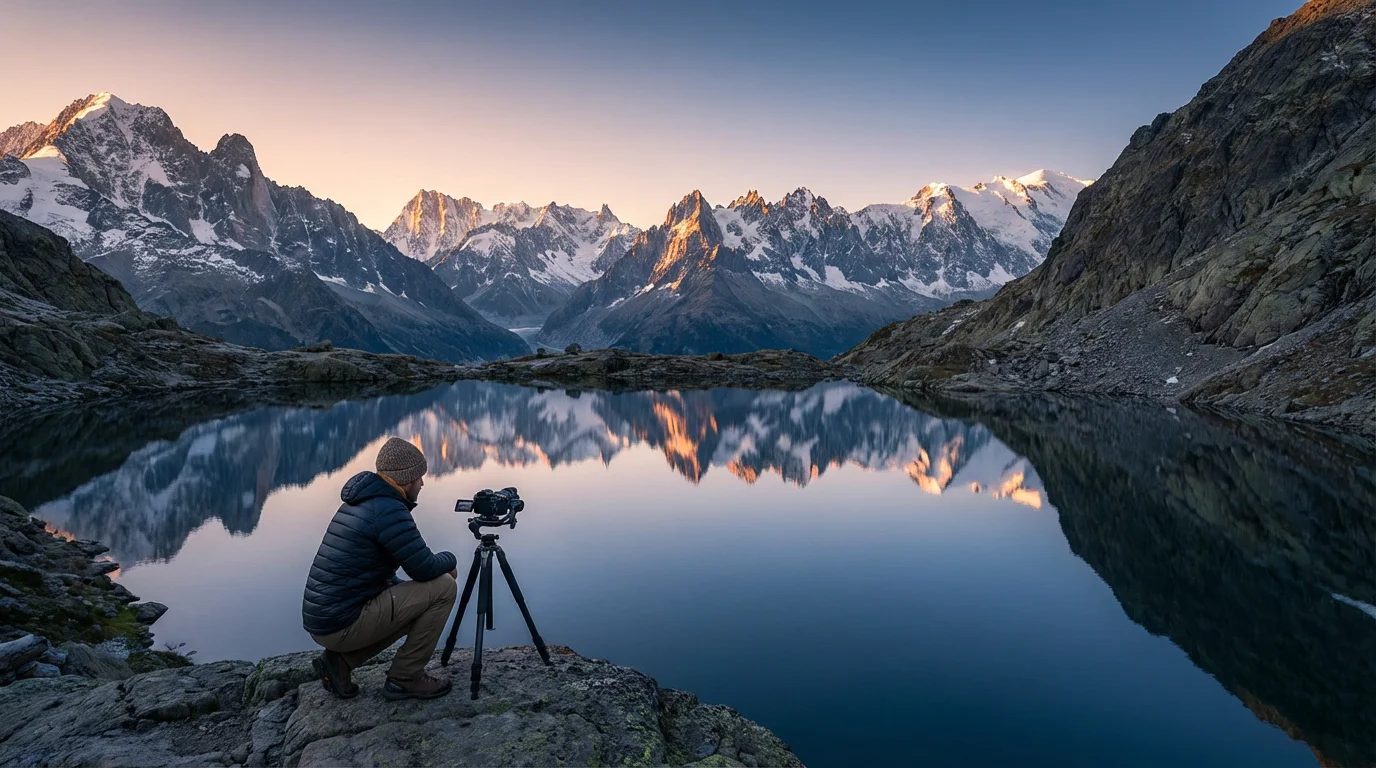
- Embrace the Golden Hour: The hour after sunrise and the hour before sunset offer soft, warm, diffused light. This magical light enhances colors, creates appealing shadows, and reduces harsh contrasts, making everything look more vibrant.
- Understand Exposure: Exposure controls how bright or dark your image appears. Your camera automatically adjusts this, but learning to slightly over or underexpose manually gives you creative control.
- Focus Sharply: Ensure your main subject is in sharp focus. Many cameras allow you to tap on your screen (smartphones) or select a focus point (dedicated cameras) to precisely control where the camera focuses.
- Vary Your Perspective: Do not just shoot from eye level. Get down low to capture small details, climb higher for a sweeping vista, or shoot through foliage for a unique frame. Fresh perspectives create unique outdoor photos.
- Simplify Your Scene: Avoid clutter. Too many elements distract the viewer. Focus on one or two strong subjects and remove anything unnecessary from the frame.
“The world is a book and those who do not travel read only one page.” — Saint Augustine
Safety and Comfort on Your Photographic Journey
Your personal safety and comfort always take precedence over capturing a photograph. Combining hiking with photography means you must remain aware of both your surroundings and your gear. Plan your trip carefully, prioritizing health and well-being.
Never take unnecessary risks for a shot. A beautiful photo is never worth an injury. Always inform someone of your hiking plans and estimated return time. Carry essential safety gear, regardless of the hike’s length.
Key Safety Considerations for Photographers on the Trail
These essential safety measures ensure your outdoor photography adventures remain enjoyable and risk-free. Prepare thoroughly before you depart.
- Tell Someone Your Plans: Share your route, destination, and expected return time with a trusted friend or family member.
- Check Weather Forecasts: Mountain weather changes rapidly. Pack appropriate layers and rain gear. Consider postponing your trip if severe weather is predicted.
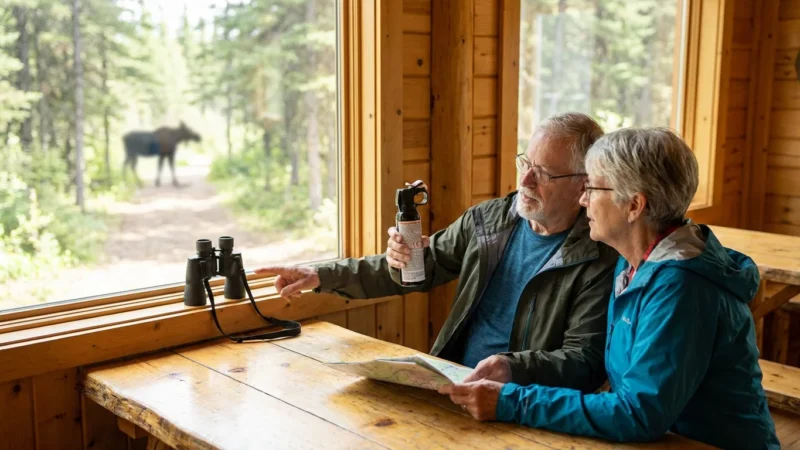
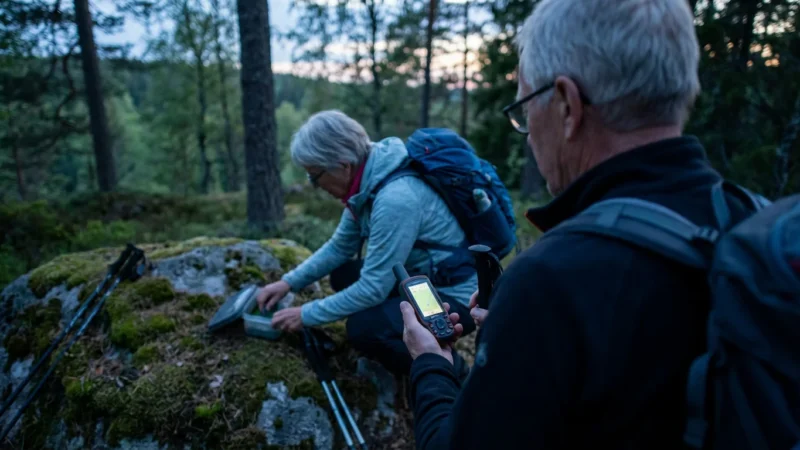
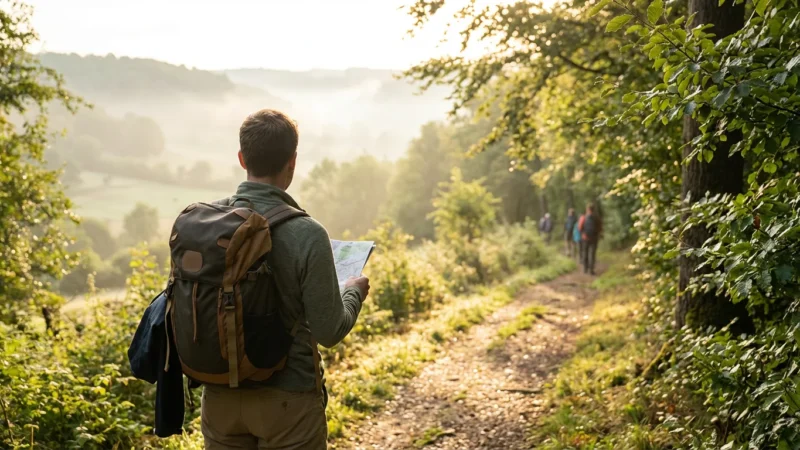
- Carry Navigation Tools: Bring a map, compass, or a GPS device in addition to your phone. Do not rely solely on electronic devices.
- Stay Hydrated and Fueled: Carry ample water and snacks. Dehydration and low energy affect your judgment and ability to hike safely. The CDC Travelers’ Health provides excellent guidance on staying healthy while traveling.
- Wear Appropriate Footwear and Clothing: Sturdy hiking boots provide essential ankle support and traction. Dress in layers to adapt to changing temperatures.
- Protect Your Camera: Keep your camera in a padded, weather-resistant bag when not in use. Avoid leaving it exposed to dust, moisture, or direct sunlight.
- Be Aware of Wildlife: Maintain a respectful distance from all wildlife. Never feed animals. Learn about local wildlife and how to react to encounters. The National Park Service offers detailed information on wildlife safety.
- Mind Your Footing: Focus on the trail, especially when walking. Stop walking to take photos. Uneven terrain, roots, and rocks present tripping hazards.
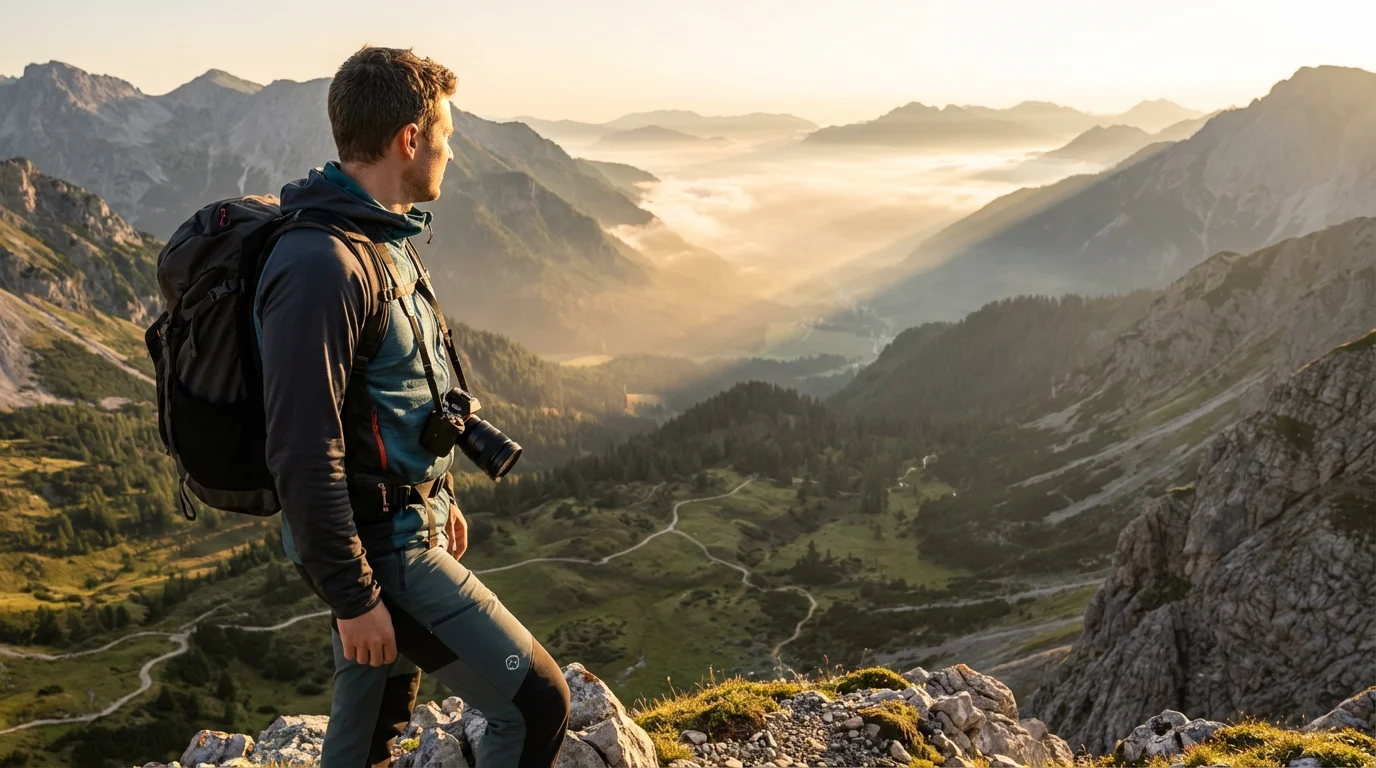
Capturing the Essence: Advanced Techniques for Outdoor Photos
Once you master the basics, explore more advanced photography tips to truly make your outdoor photos stand out. These techniques allow you to tell a richer story and capture the unique character of your surroundings. Experiment with different approaches to find your personal style.
Patience plays a crucial role in capturing exceptional images. Sometimes you wait for the light, sometimes for wildlife, and sometimes for the perfect moment. Allow yourself the luxury of time on the trail. This patient approach is a hallmark of truly inspiring senior photography.
Creative Techniques for Distinctive Outdoor Photos
Elevate your trail photography with these creative ideas. They help you move beyond simple snapshots to create evocative and memorable images.
- Landscape Photography: Use a wide-angle lens to capture expansive scenes. Look for strong foreground elements to add depth. Experiment with longer exposures for smooth water or dramatic cloud movement.
- Wildlife Photography: Patience is key. Use a telephoto lens to maintain distance and avoid disturbing animals. Anticipate movement and focus on the animal’s eyes.
- Macro Photography: Discover the tiny wonders of the trail. Use a macro lens or a smartphone’s macro mode to capture intricate details of insects, flowers, or textures. Get low and close to your subject.
- Portraiture in Nature: Incorporate people into your natural landscapes. Position subjects to interact with their surroundings. Use natural light to illuminate their faces, avoiding harsh overhead sun.
- Capture Movement: Use a slower shutter speed to blur motion, such as flowing water in a stream or windblown leaves. This technique adds dynamism and a sense of movement to your outdoor photos.
- Look for Patterns and Textures: Nature provides an abundance of fascinating patterns. Tree bark, rock formations, or ripples in water create compelling abstract images.
- Focus on Details: Do not feel pressured to capture only grand vistas. Zoom in on a single leaf, a unique rock, or an interesting trail marker. These details often tell a powerful story.

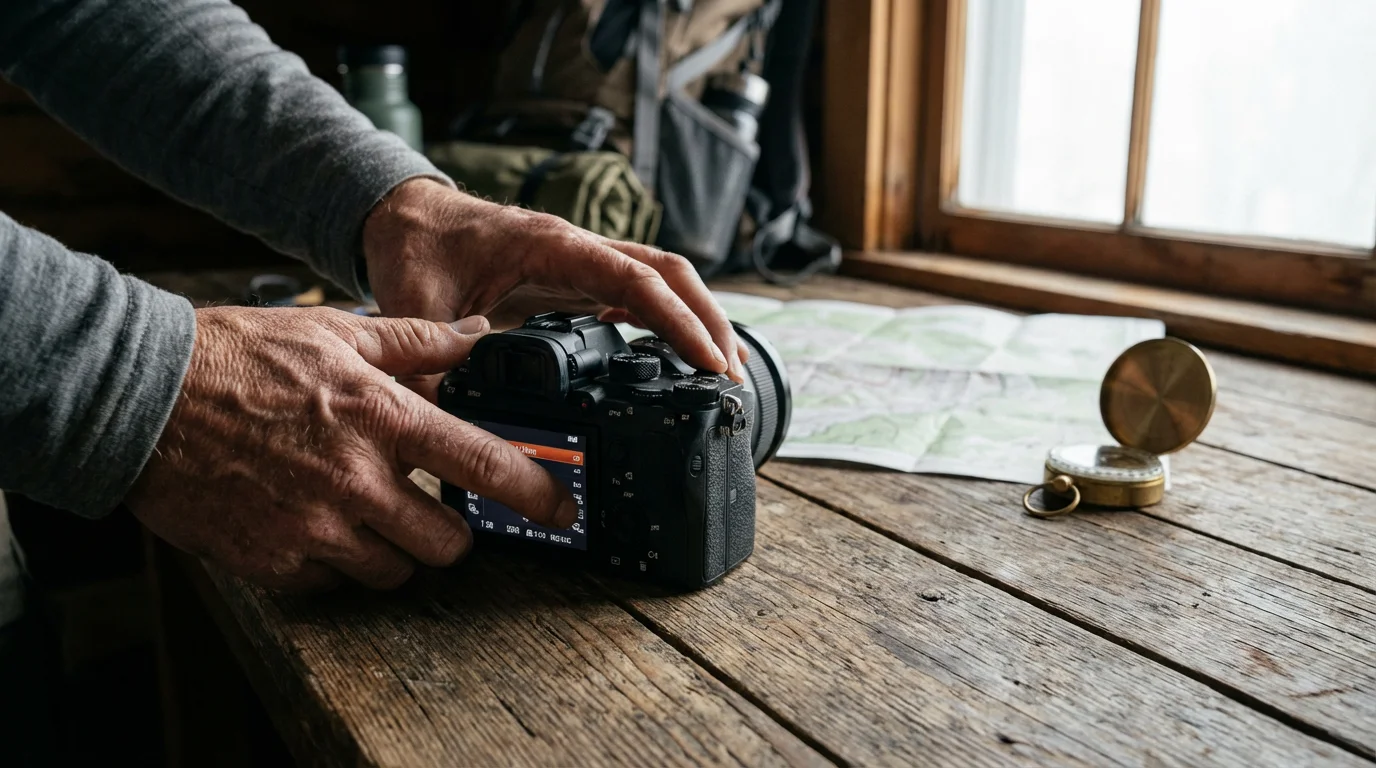
Post-Processing: Enhancing Your Outdoor Memories
The journey does not end when you leave the trail. Post-processing, or editing, helps you refine your images and bring out their full potential. You do not need complex software or extensive computer skills. Simple adjustments make a big impact.
Many free or affordable photo editing apps are available for smartphones and computers. These tools allow you to adjust brightness, contrast, color, and crop your images. View this step as the final polish for your captured memories.
Simple Editing for Striking Images
Even minor adjustments transform a good outdoor photo into a great one. These steps improve clarity, vibrancy, and overall appeal.
- Crop for Impact: Remove distracting elements from the edges of your photo. Cropping also helps strengthen your composition by bringing focus to your main subject.
- Adjust Exposure and Contrast: Lighten dark areas or darken overly bright spots. Increasing contrast often adds punch to your images.
- Enhance Colors: Boost the saturation or vibrance slightly to make colors pop, especially greens in foliage or blues in the sky. Be careful not to overdo it, as colors can look unnatural.
- Sharpen Your Image: A subtle application of sharpening can make details appear crisper. Apply sparingly to avoid artifacts.
- Correct White Balance: Ensure the colors in your photo appear true to life. Adjust white balance if your photo looks too warm (orange/yellow) or too cool (blue).
- Remove Distractions: Use a spot removal tool to eliminate small distracting elements like dust spots on your lens or an unwanted piece of litter in the background.
Always back up your photos. Store them on an external hard drive or a cloud service to protect your irreplaceable memories. Technology fails sometimes, but your memories do not have to.

Sharing Your Adventures: Connecting Through Images
Your photographs are more than just digital files; they are stories waiting to be told. Sharing your outdoor photos allows you to connect with friends, family, and a wider community of adventurers. It extends the joy of your experiences and inspires others to explore.
Consider different avenues for sharing your senior photography. Each method offers a unique way to present your work and engage with an audience. Your images can spark conversations, encourage travel, and highlight the beauty of the natural world.
Ways to Share Your Photographic Journey
From digital displays to tangible keepsakes, your photographs hold significant value. Explore these options for sharing your captured memories.
- Online Galleries: Create personal galleries on platforms like Flickr or SmugMug. These allow you to share high-resolution images with a broader audience.
- Social Media: Platforms like Facebook or Instagram let you share your photos instantly with friends and family. AARP Travel features many inspiring stories from active seniors, showing the power of shared experiences.
- Photo Books: Compile your best images into a professionally printed photo book. These make wonderful keepsakes and gifts, offering a tactile way to revisit your adventures.
- Prints and Wall Art: Print your favorite photos and frame them for your home. High-quality prints turn your captured moments into lasting art.
- Presentations: Give presentations to local community groups or travel clubs. Share your photos and stories, inspiring others to embark on their own adventures.
- Digital Slideshows: Create dynamic slideshows with music to showcase your entire journey. This brings your trip to life for friends and family gatherings.
Frequently Asked Questions
What is the best camera for senior hikers who want to take good photos?
The best camera for senior hikers balances image quality with ease of use and portability. Many modern smartphones offer excellent capabilities for casual photographers. For more control and superior image quality without excessive bulk, consider a high-quality compact camera or a lightweight mirrorless camera. These options provide a good balance for capturing stunning outdoor photos without overwhelming you with gear.
How can I take better photos while hiking without advanced equipment?
You can significantly improve your photos without advanced equipment by focusing on fundamental photography tips. Pay attention to composition, using rules like the Rule of Thirds. Look for good lighting, especially during the “golden hour” after sunrise or before sunset. Experiment with different perspectives and ensure your subject is in sharp focus. Simplification of your scene also helps create more impactful images.
What are some essential photography tips for capturing landscapes?
When photographing landscapes, use a wide-angle lens if you have one to capture the vastness. Look for leading lines, such as trails or rivers, to guide the viewer’s eye. Include a strong foreground element, like a rock or a tree, to add depth and scale. Pay attention to the sky and clouds, as they often contribute significantly to the mood of the landscape. Shoot during soft light for the best results.
How do I protect my camera gear while on the trail?
Protect your camera gear by using a padded, weather-resistant camera bag or backpack insert. Keep your camera in its bag when not actively shooting to shield it from dust, moisture, and potential bumps. Carry a rain cover for unexpected downpours. A lens cap and UV filter offer added protection for your lens glass. Always be mindful of your surroundings and avoid placing your camera on unstable surfaces.
Is it worth learning post-processing for outdoor photos?
Yes, learning basic post-processing is highly recommended for outdoor photos. Even simple adjustments like cropping, adjusting exposure, and enhancing colors can dramatically improve your images. You do not need expensive software. Free apps and online tools allow you to make these enhancements easily, bringing out the full potential of your captured memories.

Embrace the Lens, Embrace the Trail
Your senior years present a wonderful opportunity to deepen your connection with the natural world through the lens. You possess a wealth of experience and a unique perspective, making your outdoor photos truly distinctive. Step onto the trail with your camera, ready to capture not just scenery, but the very essence of your adventure.
Every click of the shutter becomes a treasured memory, a moment frozen in time. Embrace the joy of discovery, the thrill of the trail, and the satisfaction of capturing its beauty. Go forth, explore, and create stunning visual stories that inspire yourself and others for years to come.
Disclaimer: This article is for informational purposes only. Travel conditions, accessibility, and requirements change frequently. We encourage readers to verify current information with official sources before traveling. Always consult with healthcare providers about travel considerations for your specific health situation.
Leave a Reply